
UI Pro v0.1
Released
[WIP] UI PRO v0.1
A code-first, inspector-driven UI system for s&box. If you've used Unity's
uGUI (RectTransform, Image, Text, Button), this will feel familiar - you
build UI out of GameObjects and components in the scene, no markup.
START HERE: OPEN THE EXAMPLE SCENE
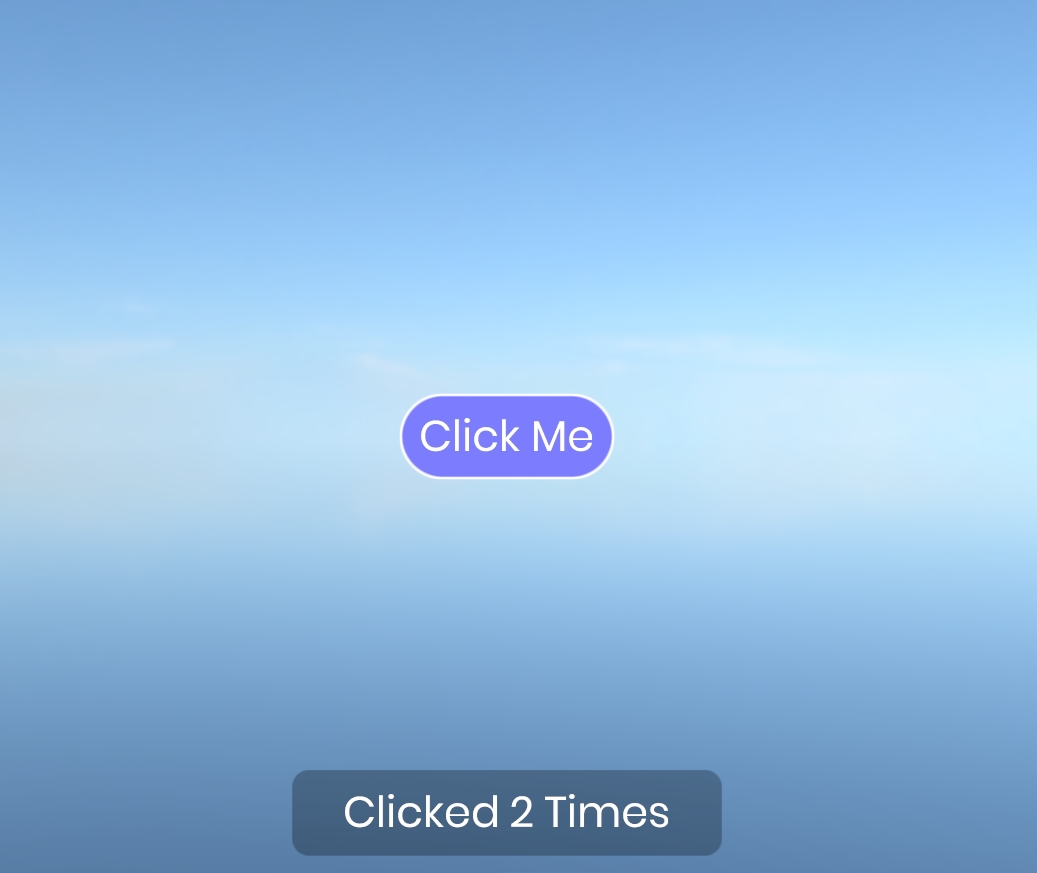
The fastest way to understand UI Pro is to open the included example scene.
It has a working canvas, an input system, and a button that updates a text
node each time you click it. Press play, click the button, then inspect how
the GameObjects and components are wired together - that's the whole pattern.
THE THREE PIECES
Every UI Pro setup is the same three ideas:
1. CANVAS
The root of your UI. Every UI node must be a child GameObject under a
canvas. Handles scaling across resolutions.
2. NODES ("Image Node", "Text Node")
The visible pieces - images and text - placed as child GameObjects and
positioned by their Layout Settings (anchor / pivot / offset / size).
3. INPUT ("Input System")
You need ONE Input System component somewhere in the scene.
It reads the mouse and dispatches click/hover events. Without it, nothing
is interactive.
4. BEHAVIOUR ("Button")
Sits alongside a node and reacts to pointer events. Set its Target to the
node it should recolour on hover/press, and hook up its OnClick.
MAKING A BUTTON FROM SCRATCH
1. Add an "Input System - UI Pro" to any GameObject (only one needed).
2. Add a "Canvas - UI Pro" to another GameObject.
3. Under the canvas, add a child GameObject with an "Image Node - UI Pro".
Give it a Size in Layout Settings.
4. On that node, tick "Receive Pointer Input" so it can be clicked. (Nodes
are non-interactive by default, so text and decoration don't eat clicks.)
5. On the same GameObject, add a "Button - UI Pro" and set its Target to the
image node. Adjust the Default / Hovered / Pressed tints.
6. Wire the button's OnClick to your own code.
Done. Hovering recolours it, pressing recolours it, releasing over it fires
OnClick.
WHAT'S IN THIS VERSION (v0.1)
Canvas + scaler, anchor/pivot/offset layout, stretch, child padding,
rectangular and rounded clipping, Image, Text, Button, and pointer input
(enter / exit / down / up / click).
NOT yet included (planned): edit mode preview, checkboxes, sliders, layout lists, scroll
containers, text input fields, and explicit ordering between multiple
overlapping canvases. For now, keep layering within a single canvas using
the node hierarchy.
This is an early release built by one person. Bug reports are hugely appreciated, and if there's a widget you
need that's missing, say so. Real use cases drive what gets built next.
A code-first, inspector-driven UI system for s&box. If you've used Unity's
uGUI (RectTransform, Image, Text, Button), this will feel familiar - you
build UI out of GameObjects and components in the scene, no markup.
START HERE: OPEN THE EXAMPLE SCENE
The fastest way to understand UI Pro is to open the included example scene.
It has a working canvas, an input system, and a button that updates a text
node each time you click it. Press play, click the button, then inspect how
the GameObjects and components are wired together - that's the whole pattern.
THE THREE PIECES
Every UI Pro setup is the same three ideas:
1. CANVAS
The root of your UI. Every UI node must be a child GameObject under a
canvas. Handles scaling across resolutions.
2. NODES ("Image Node", "Text Node")
The visible pieces - images and text - placed as child GameObjects and
positioned by their Layout Settings (anchor / pivot / offset / size).
3. INPUT ("Input System")
You need ONE Input System component somewhere in the scene.
It reads the mouse and dispatches click/hover events. Without it, nothing
is interactive.
4. BEHAVIOUR ("Button")
Sits alongside a node and reacts to pointer events. Set its Target to the
node it should recolour on hover/press, and hook up its OnClick.
MAKING A BUTTON FROM SCRATCH
1. Add an "Input System - UI Pro" to any GameObject (only one needed).
2. Add a "Canvas - UI Pro" to another GameObject.
3. Under the canvas, add a child GameObject with an "Image Node - UI Pro".
Give it a Size in Layout Settings.
4. On that node, tick "Receive Pointer Input" so it can be clicked. (Nodes
are non-interactive by default, so text and decoration don't eat clicks.)
5. On the same GameObject, add a "Button - UI Pro" and set its Target to the
image node. Adjust the Default / Hovered / Pressed tints.
6. Wire the button's OnClick to your own code.
Done. Hovering recolours it, pressing recolours it, releasing over it fires
OnClick.
WHAT'S IN THIS VERSION (v0.1)
Canvas + scaler, anchor/pivot/offset layout, stretch, child padding,
rectangular and rounded clipping, Image, Text, Button, and pointer input
(enter / exit / down / up / click).
NOT yet included (planned): edit mode preview, checkboxes, sliders, layout lists, scroll
containers, text input fields, and explicit ordering between multiple
overlapping canvases. For now, keep layering within a single canvas using
the node hierarchy.
This is an early release built by one person. Bug reports are hugely appreciated, and if there's a widget you
need that's missing, say so. Real use cases drive what gets built next.