A beginner friendly walk through for making simple interactive game UI.
What you will build
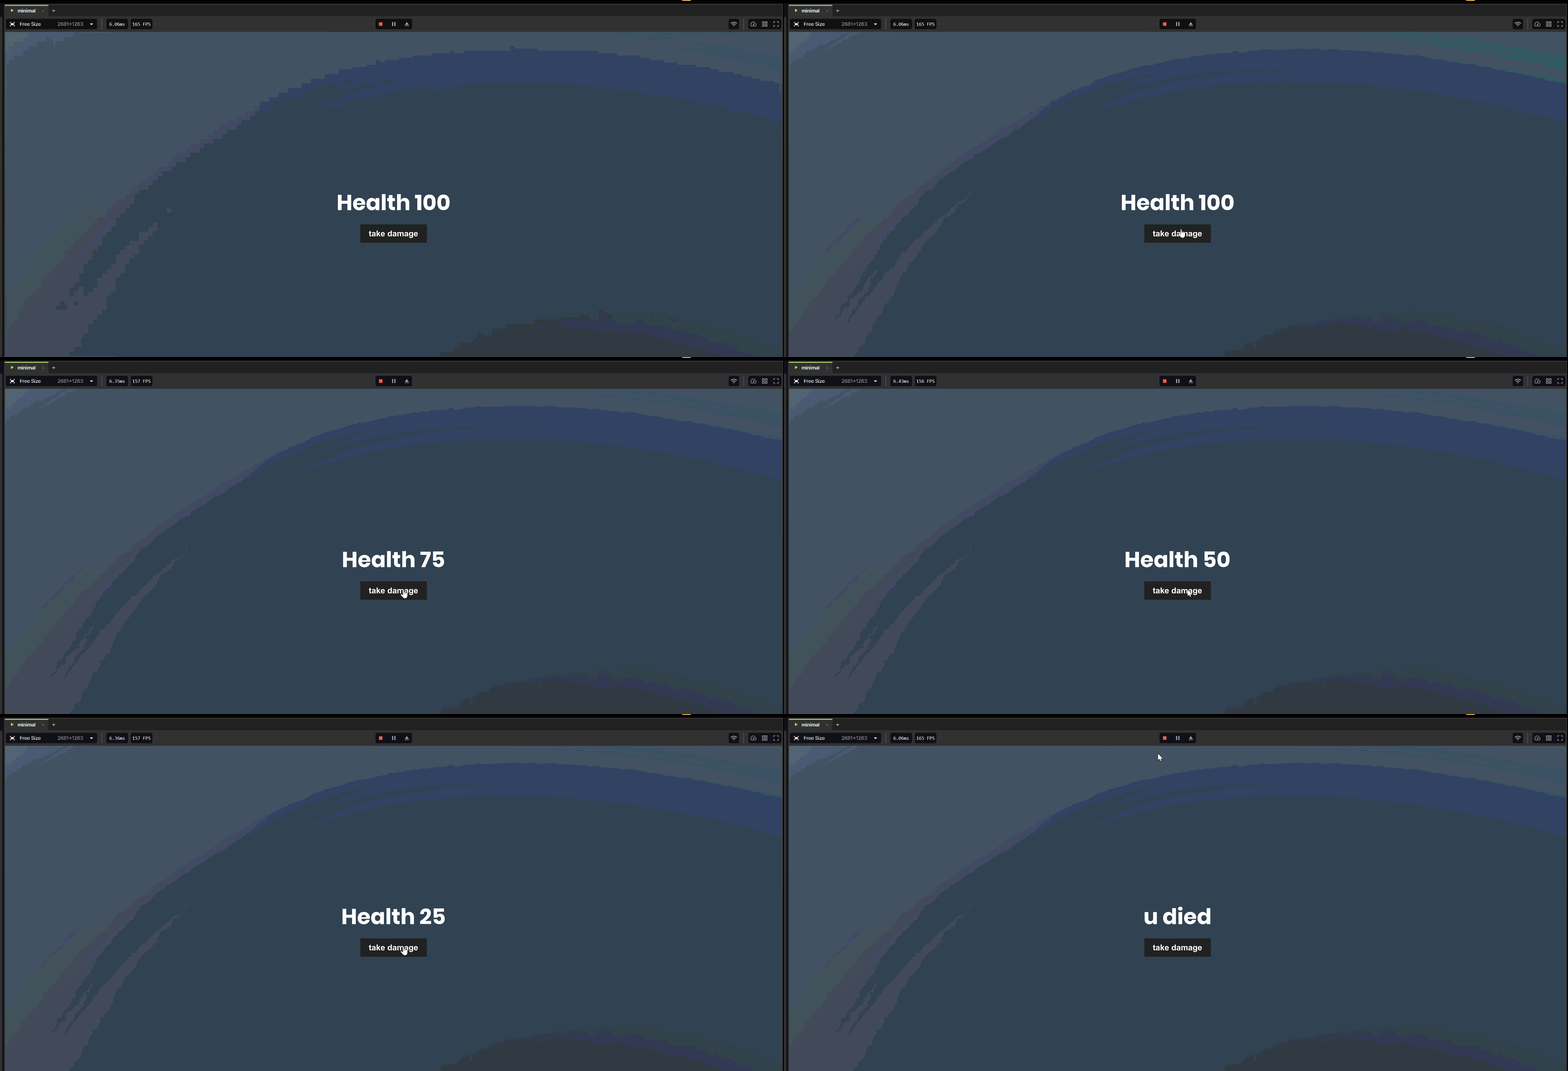
Simple text showing how much health we have
A button to remove the health
Prerequisites
A new and empty game scene or project
Very basic understanding of the editor e.g. what scenes are, how to create entities, the hierarchy view etc.
Foundational understanding of HTML, CSS and Razor or any similar framework like React, Vue etc.
1. Create the HUD object
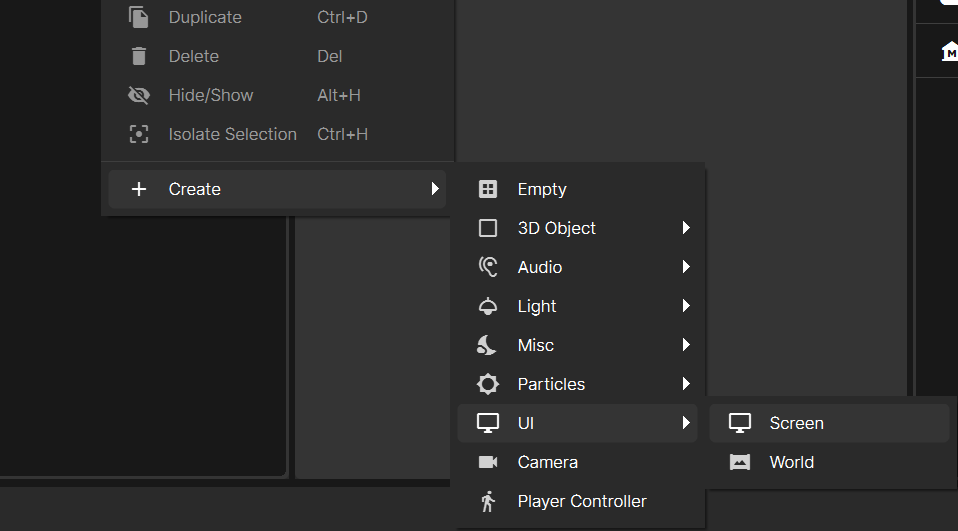
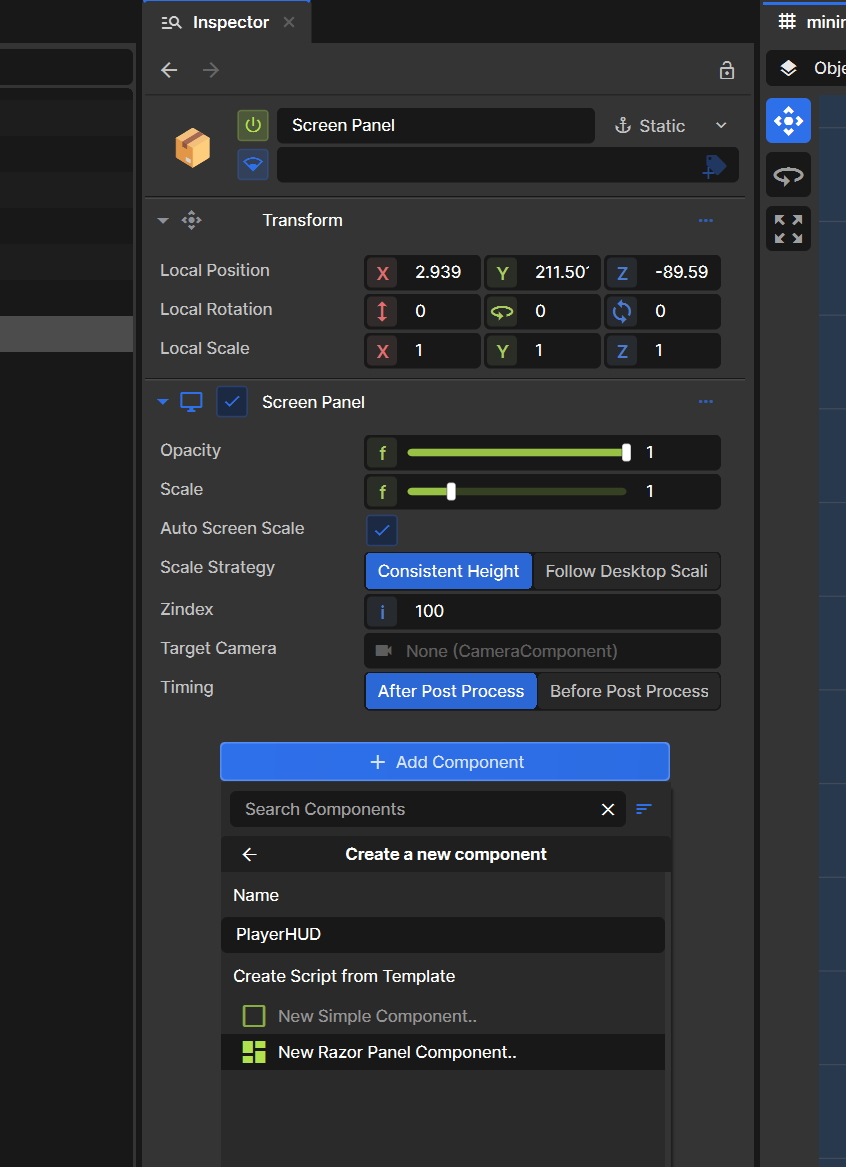
Open or create a new scene. Create a new screen component in our hierarchy view and rename it to "Screen Panel" Then add a new razor component on that same object and name it PlayerHUD this will create two files: PlayerHUD.razor and PlayerHUD.razor.scss Save this where you please in your file system.
2. Add health text and button to razor component
Open PlayerHUD.razor and replace its content with the following
@using Sandbox;
@using Sandbox.UI;
@inherits PanelComponent
@namespace Sandbox

<root>
	<div class="health">@HealthText</div>
	<button onclick=@TakeDamage>take damage</button>
</root>

@code
{
	public int Health { get; set; } = 100;

	string HealthText => Health <= 0 ? "u died" : $"Health {Health}";

	void TakeDamage()
	{
		if ( Health <= 0 )
		{
			return;
		}

		Health -= 25;
	}
}
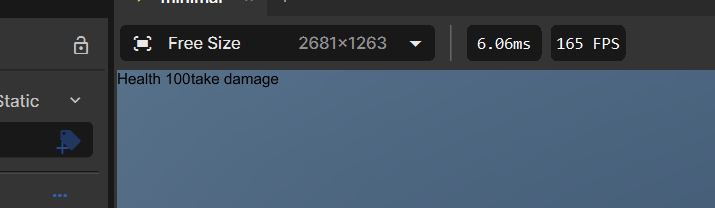
The above is a super simple example of a button that reduces our health by 25 whenever it is pressed. Feel free to check your changes now to see our button and text on screen. You should have something like this:
3. Style our component
Open PlayerHUD.razor.scss and replace it with this:
I'm planning to try make 1 tutorial per day, I know that a lot of new people have issues with the lack of tutorials and documentation. So hopefully this make it easier for new people to get straight into it but also avoid just AI slopping it out.
I really like the s&box platform so I'm hoping creating a lot of tutorials that will assist in the success of s&box thus a good investment of my skills.
If you need help with anything message me on discord @barnyard6294
Please give me feedback on the tutorials, any is appreciated thanks.