Guidelines & Quality Bar
Keeping to our Quality Bar
These quality guidelines will help you through the process of creating clothing that stands a better chance of being accepted for sale on the s&box store.
Many of these guidelines cover case-by-case situations. If you need a direct reference for triangle counts, texture sizes, and quality, look towards the existing clothing assets.
Triangle count 🔢
Checking over examples of existing clothing, you may be able to get a rough estimate of a clothing asset's triangle count. 'Common sense' should help guide you, but here are some examples of triangle counts across our own assets.
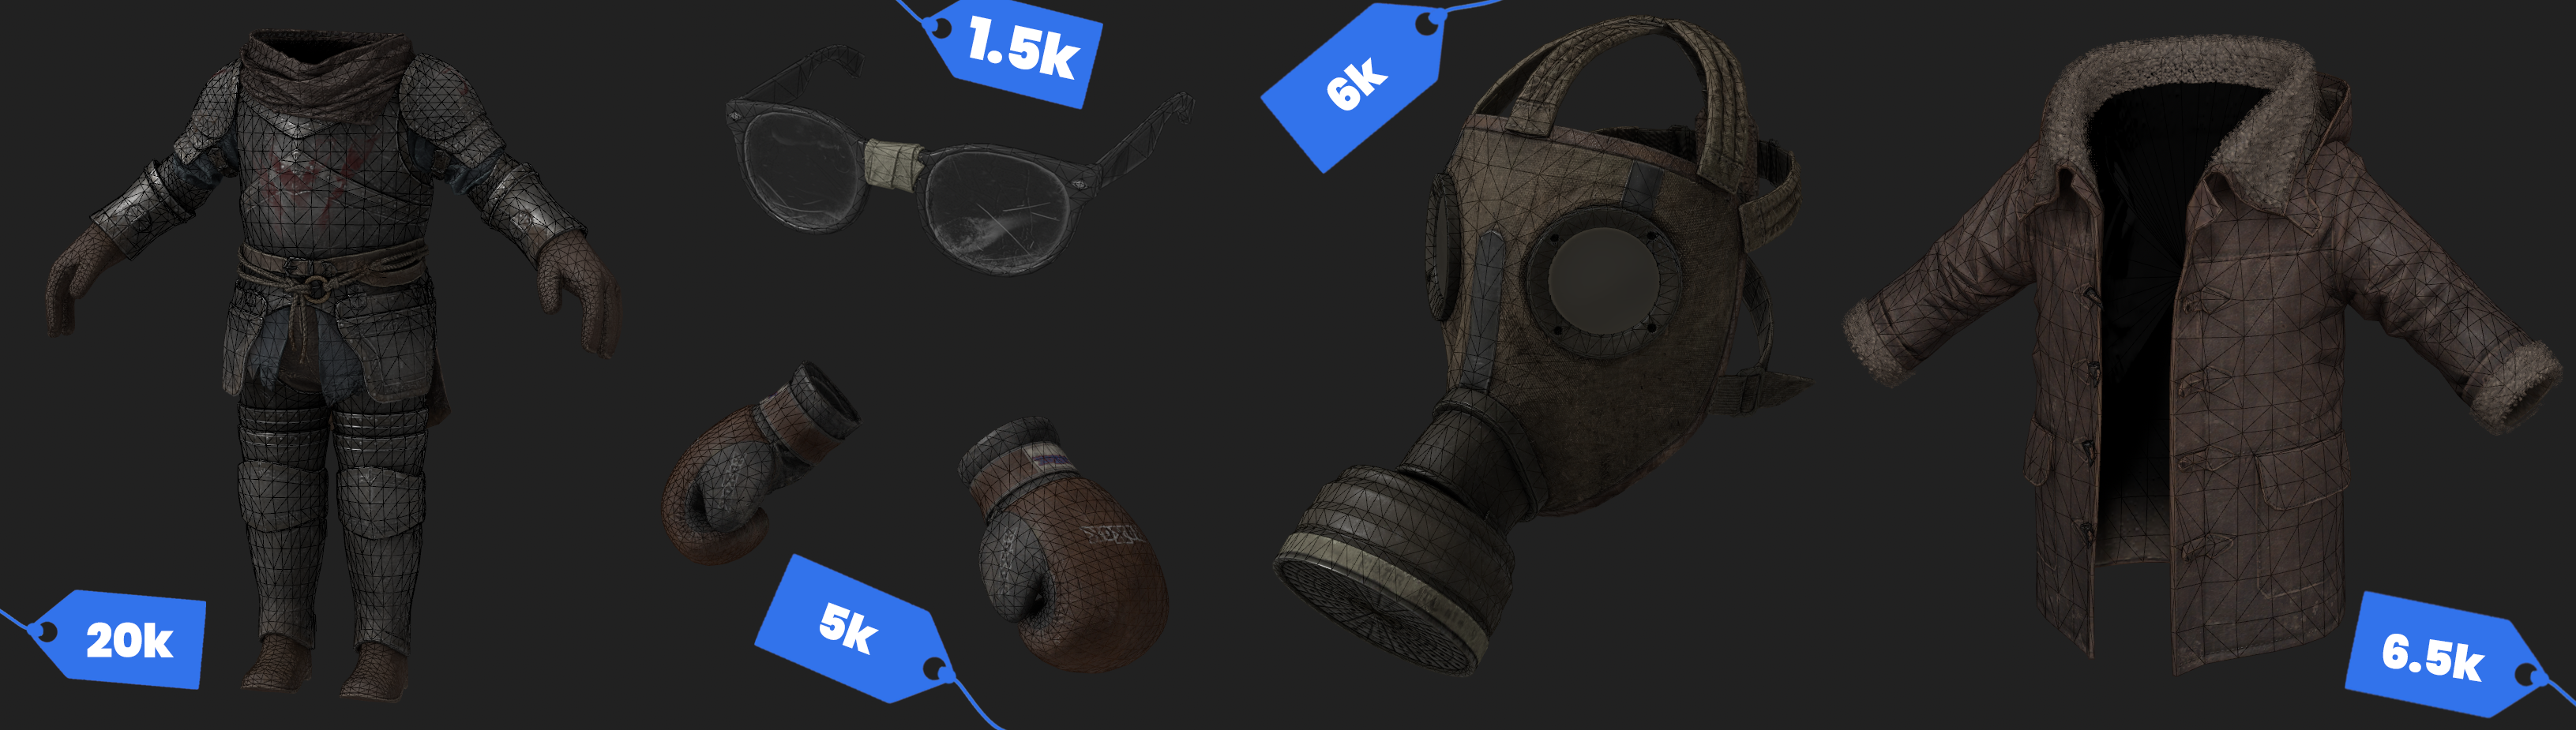
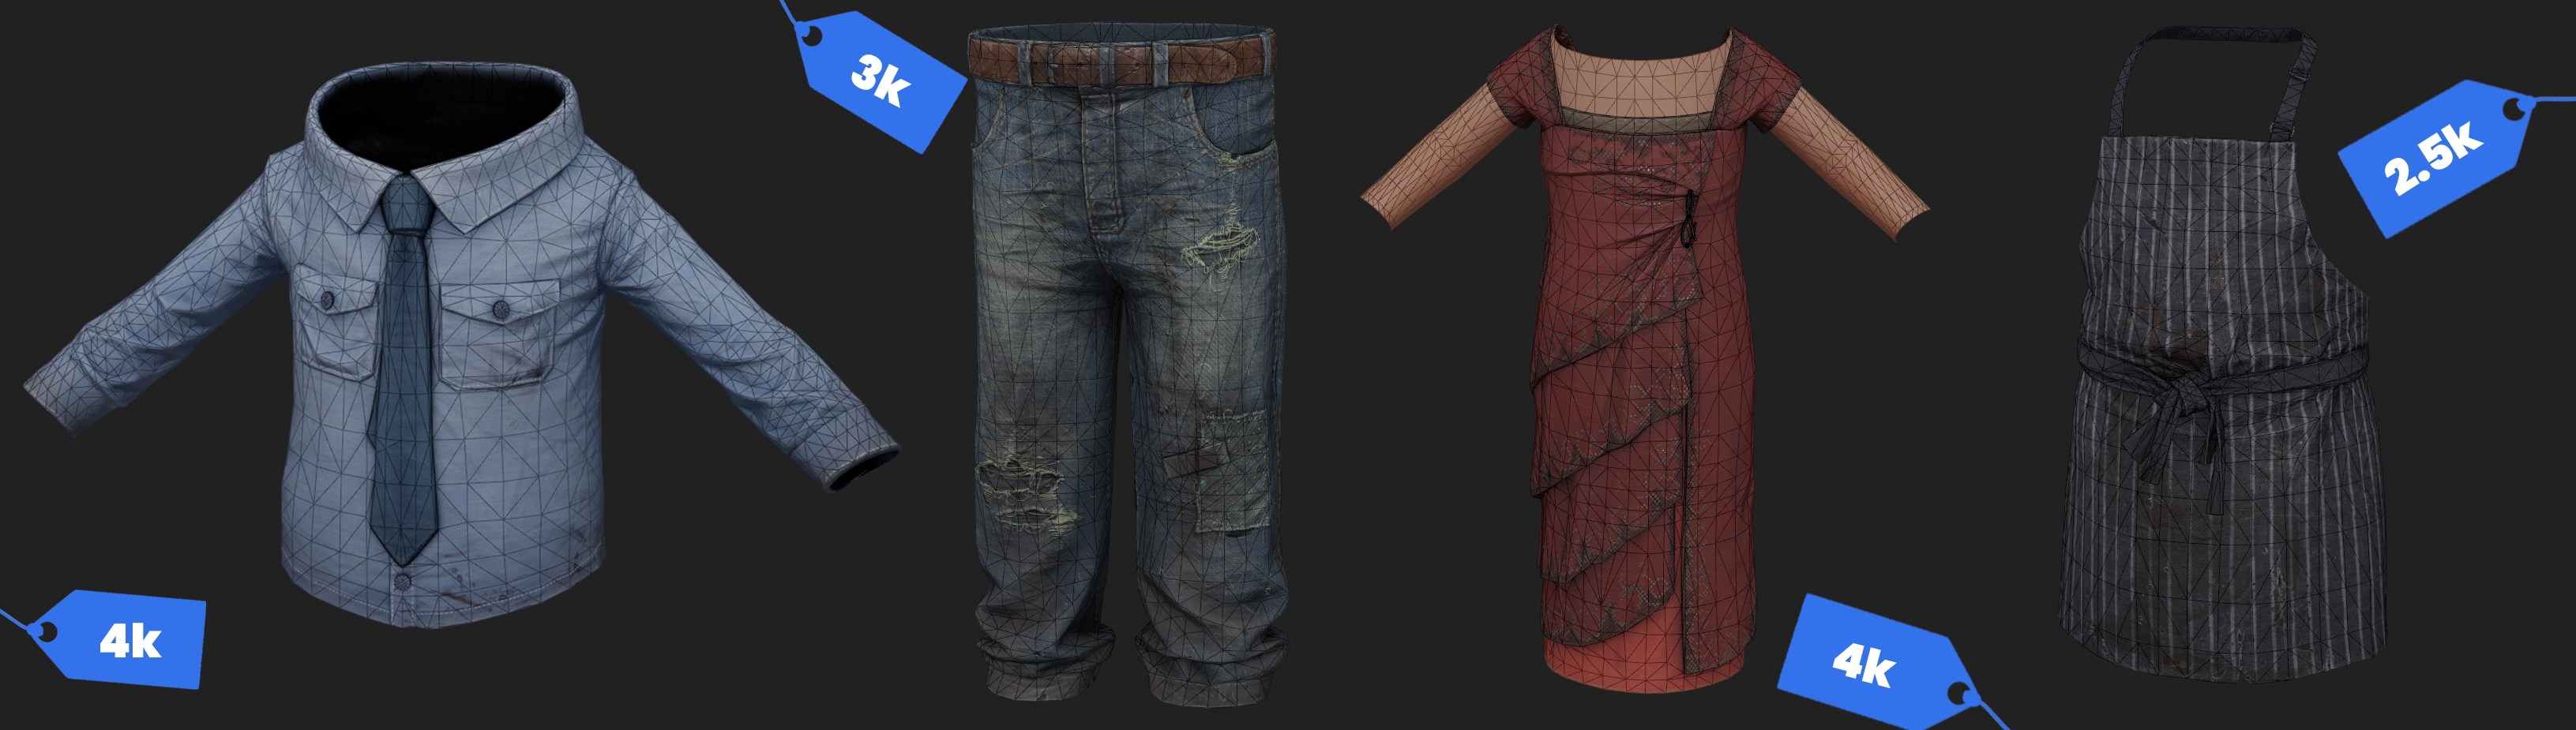
Triangle count should scale to the complexity of the design, and how much it covers the base body. 20-30k tris should generally be your hard limit. For example, a baseball cap will never need to be 20k tris.
Topology 🕸️
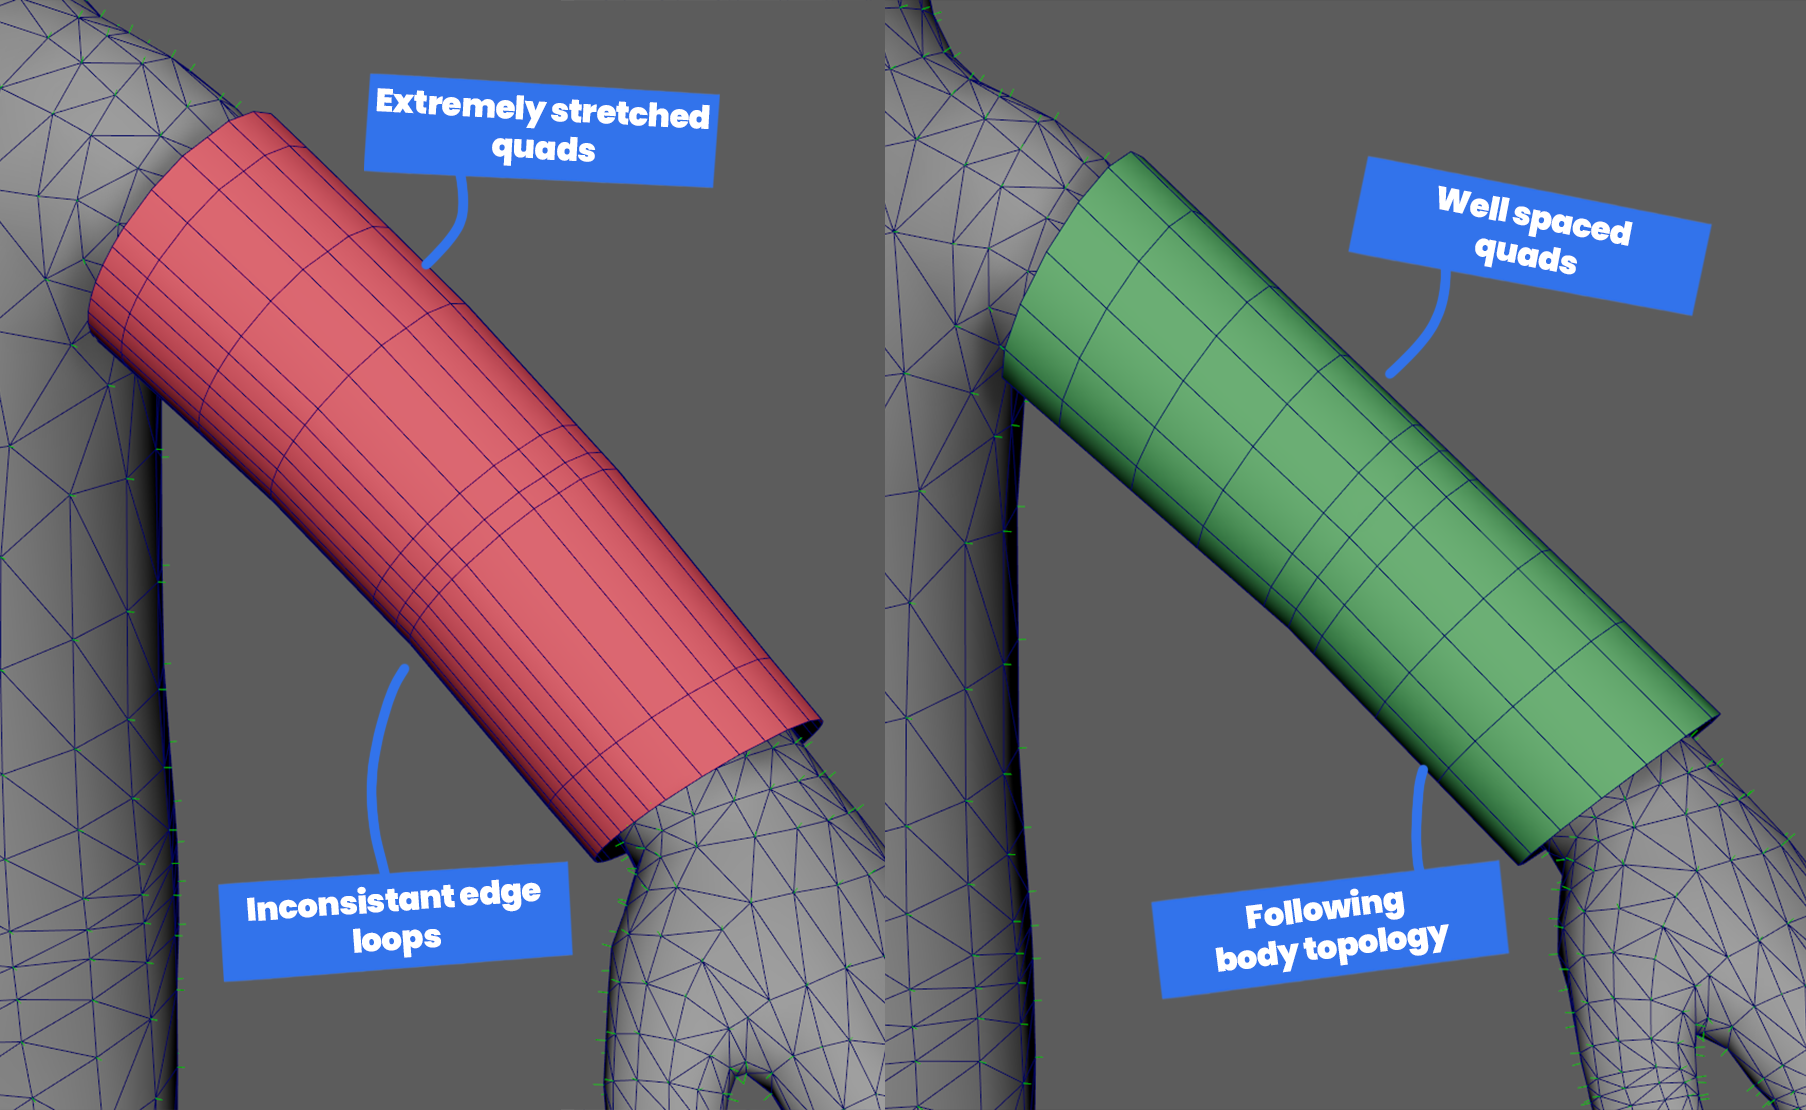
Example above shows the difference between ==bad== and ==good== topology on a clothing piece.
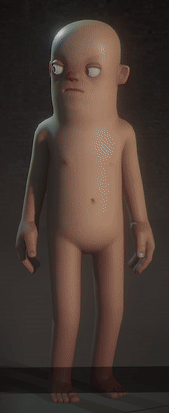
If you're finding it difficult how your topology / density of your topology should look, following the topology of the citizen body wireframe.
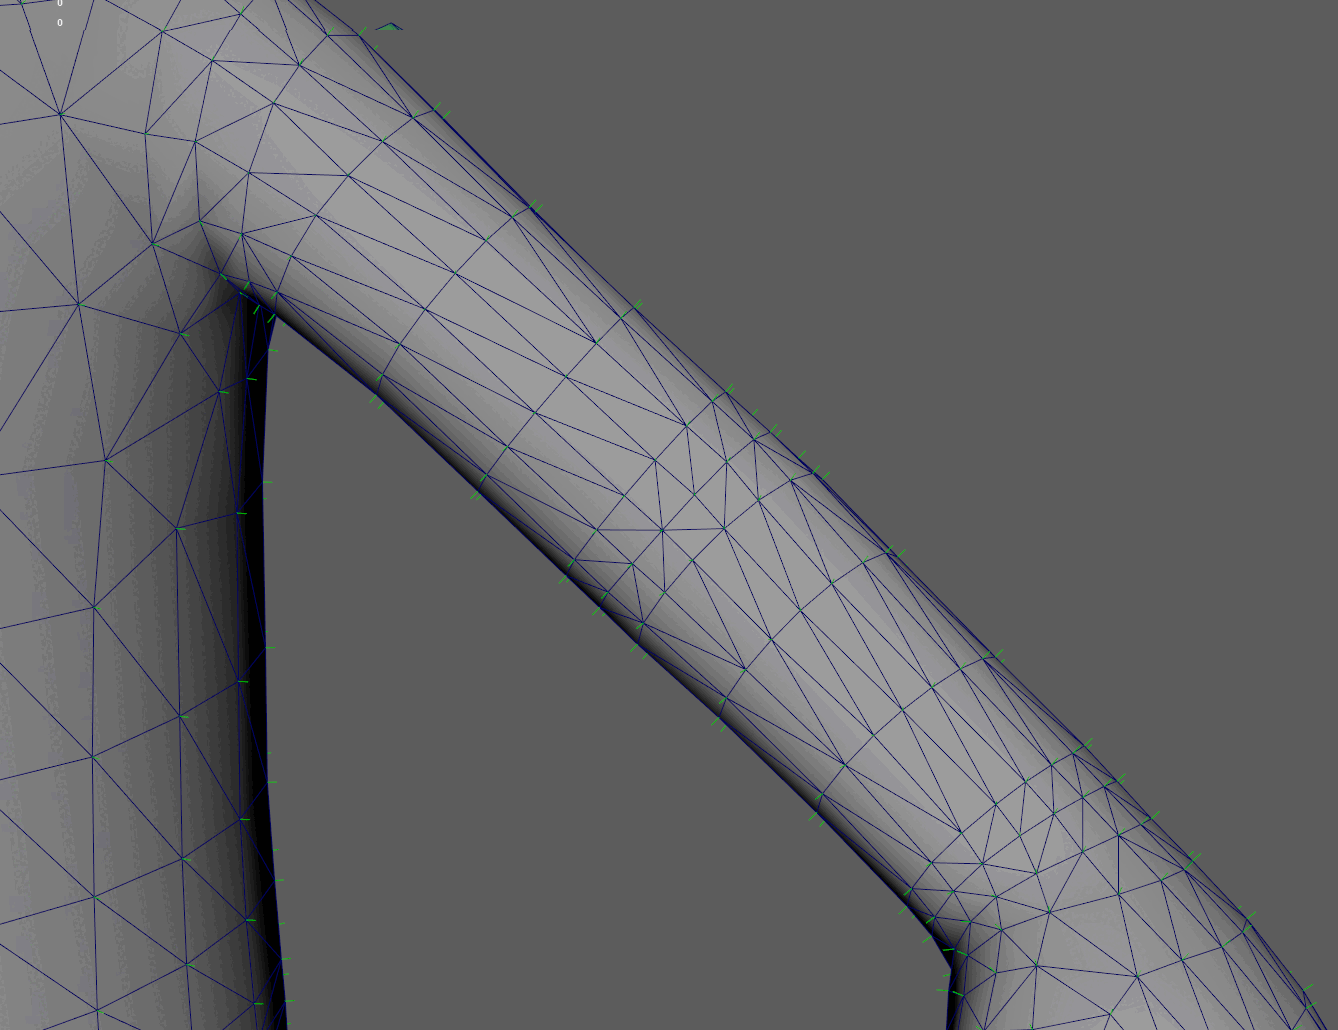
Another example :

Well-made topology is very important to make sure the mesh will deform, bend, and stretch properly once your asset is skinned (rigged). Generally, we have denser amount of quads in areas like the knees, elbows, and any place where the body will crease and bend.
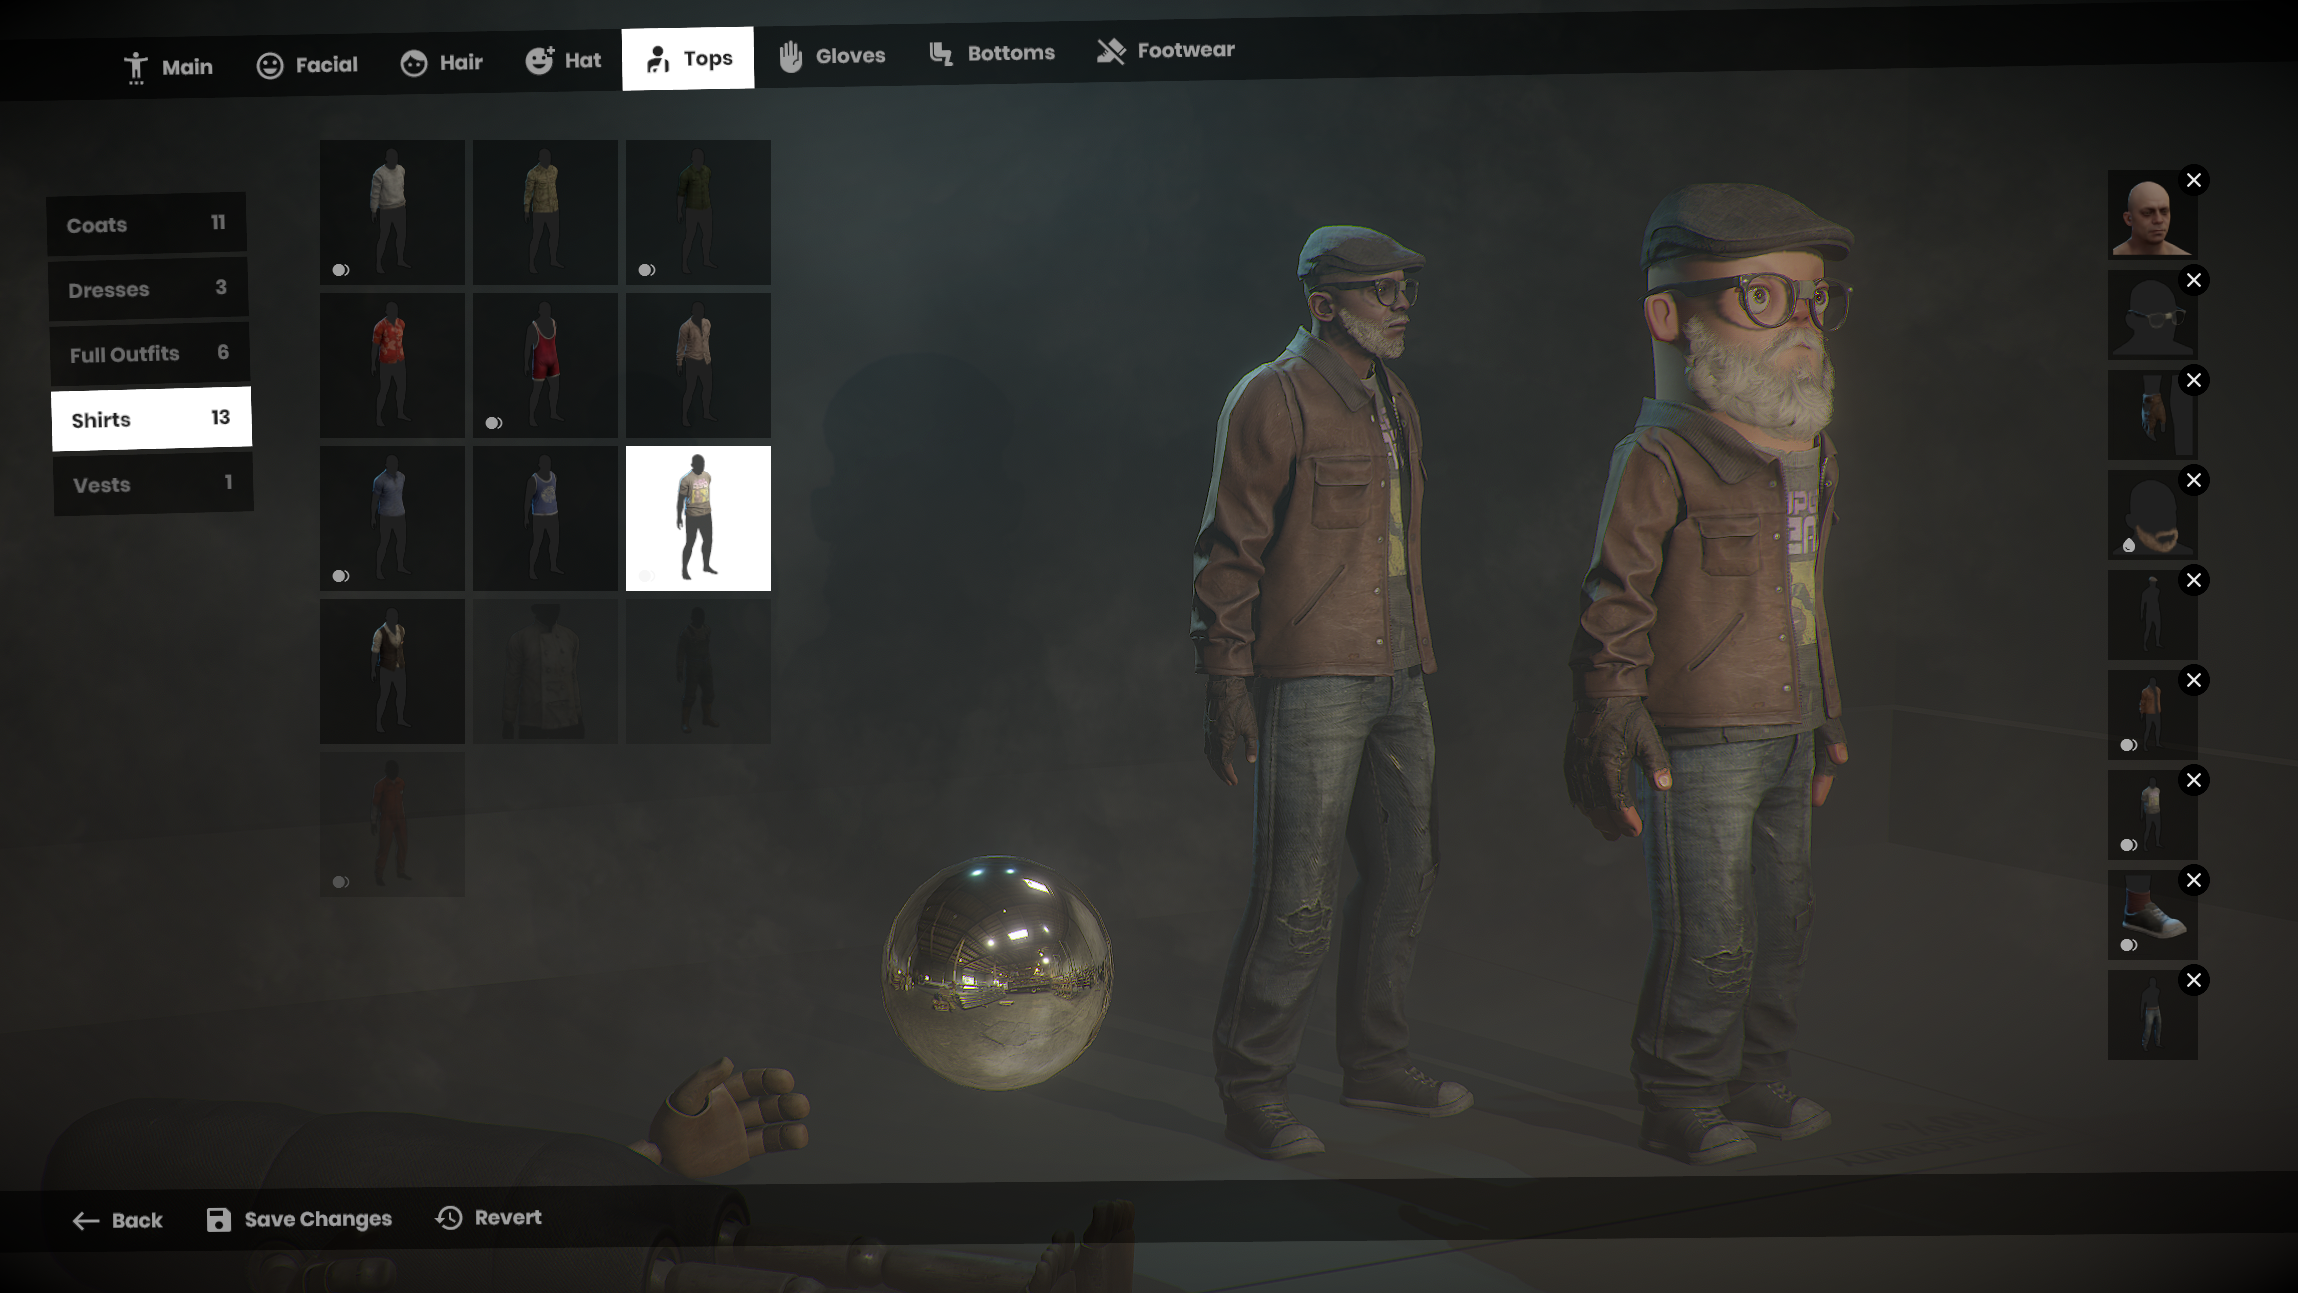
Layering 🧅
We make clothing that can fit together (under or over), to create multiple outfit combinations. Shirts fit under jackets, jackets over shirts, trousers under shirts, shoes under trousers, etc.
If you're making a shirt, you want to make sure it fits under the jackets, which you can test within your project scene.
Some amount of clipping is inevitable, given there are hundreds / thousands of outfit combinations, which is understandable. Though anything aggressively clipping over or under would be cause for concern, and most likely declined.
Full outfits, closed jackets, and clothing that covers both the upper and lower part of the body (like jumpsuits) are the exceptions to the rule. If a jacket is zipped up and doesn't show any of the lower layer (shirt) you wouldn't need it to work on top of the shirts, though it would still need to work on top of the trousers.
Please read our Layering Clothing page for detailed information and guides.
Texture Sizes 🖼️
1k (1024 x 1024) and 2k (2048 x 2048) textures for clothing is heavily encouraged. Like tricounts, it's a case by case situation, considering the complexity and size of the asset.
As a rule of thumb, here's what you should generally be using :
- Hats: 512px or 1024px
- Glasses: 512px
- Shirts: 1024px or 2048px
- Jackets: 1024px or 2048px
- Trousers: 1024px or 2048px
- Shoes: 512px or 1024px
- Gloves: 512px or 1024px
- Full outfits: one 4096px or multiple materials up to 2048px each
Of course, if you can get away with less, you should go for it!
Please keep in mind that you're making clothing primarily used in third person view. In most situations, you won't need high texture sizes. It's okay if you can't see the fibre pattern on a single piece of stitching.
Number of Materials 🧾
In most cases, clothing should only need one material set.
Keeping the amount of materials down is one of the most important things for performance, as each additional material will impart an additional draw call, which is an expensive operation.
Common sense should generally keep you on track. A shirt doesn't need 3 materials.
If you need extra texture density, and one material doesn't feel like it's enough, it's usually better to stick to one material, but with a higher texture resolution instead.
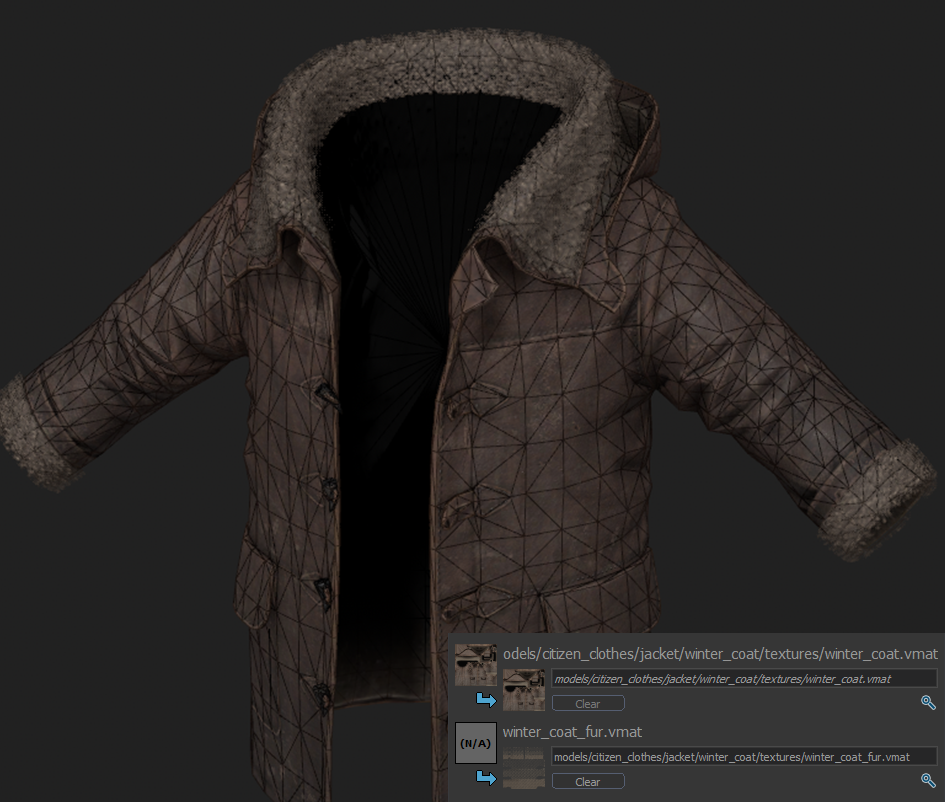
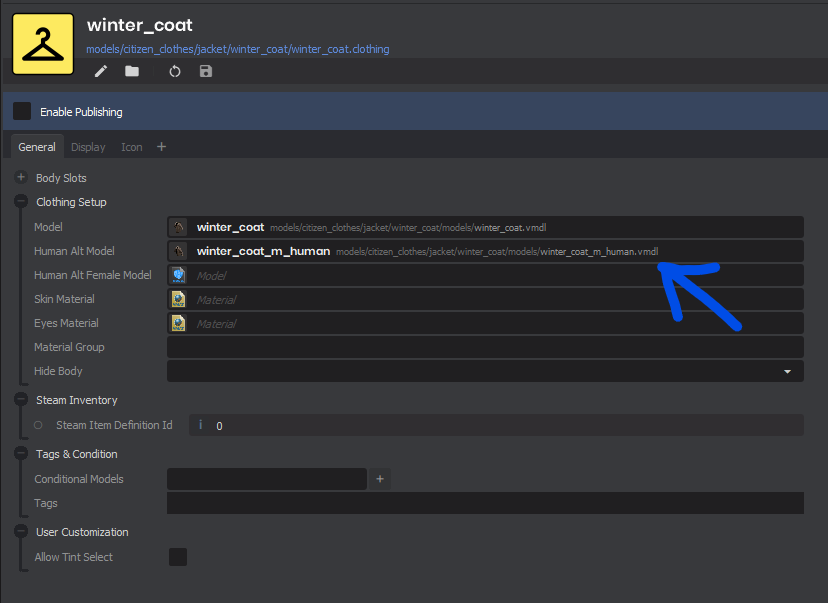
In cases like the winter coat that features fur, you can have that as a separate extra material.
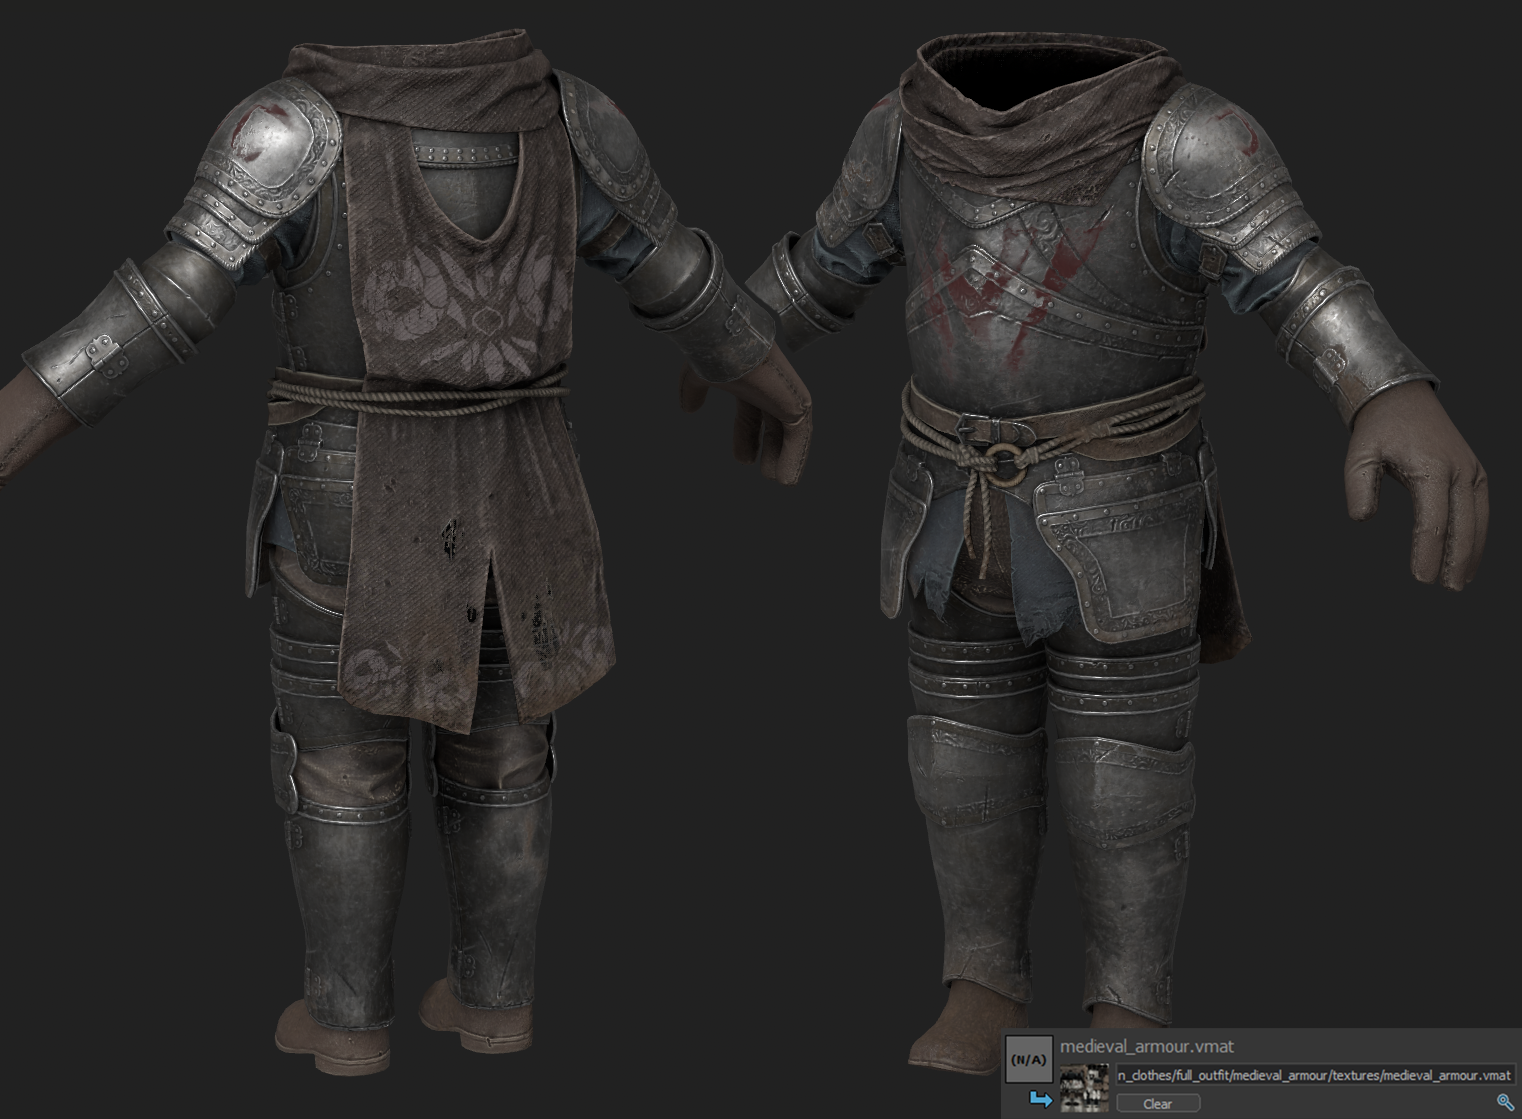
For complex single pieces, 2 materials is more than enough in nearly every case.
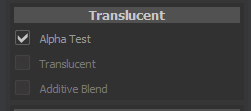
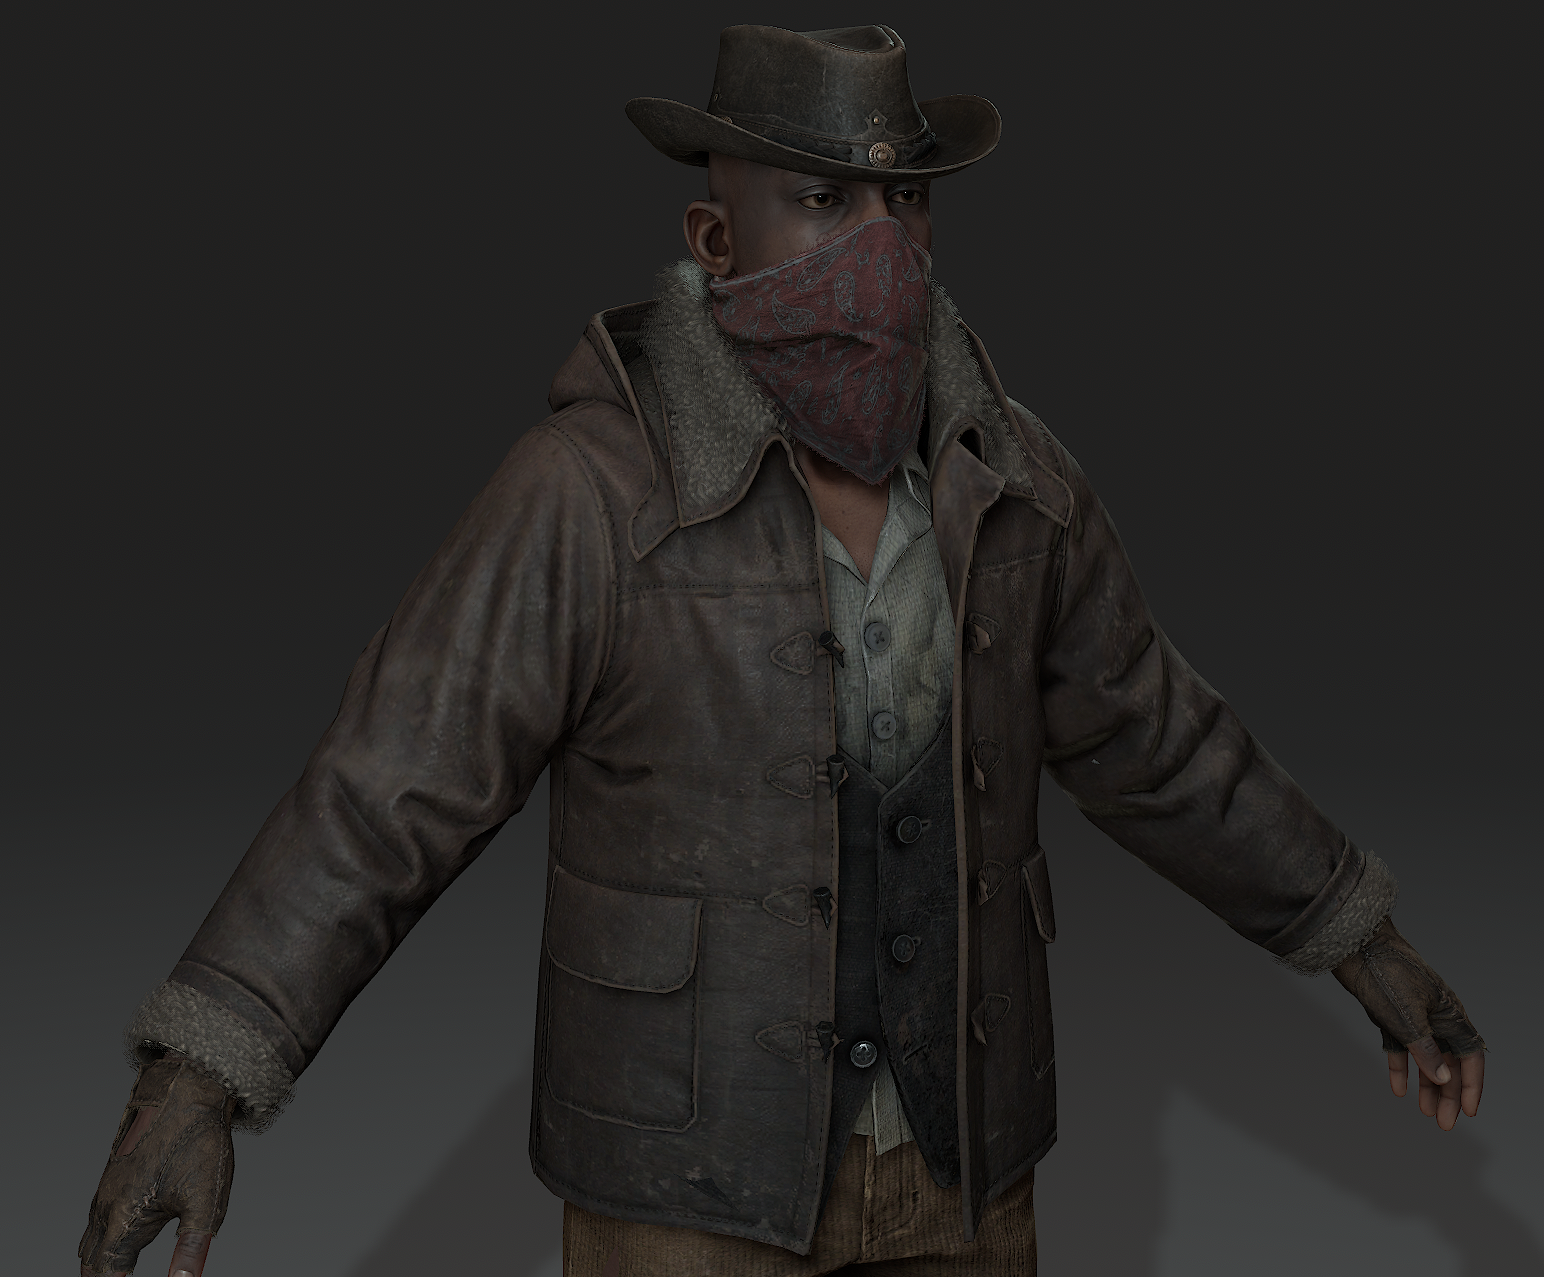
Like with triangle counts, higher numbers aren't always better! The more you can pack into one material, the better. For example below, this medieval armour is using only a single 2048px set.
Shaders & Material Editor 🕶️
For clothing, you'll only need to use the Complex shader. As this is our standard shader which we use for most assets.
We use the Complex shader to plug in our textures.
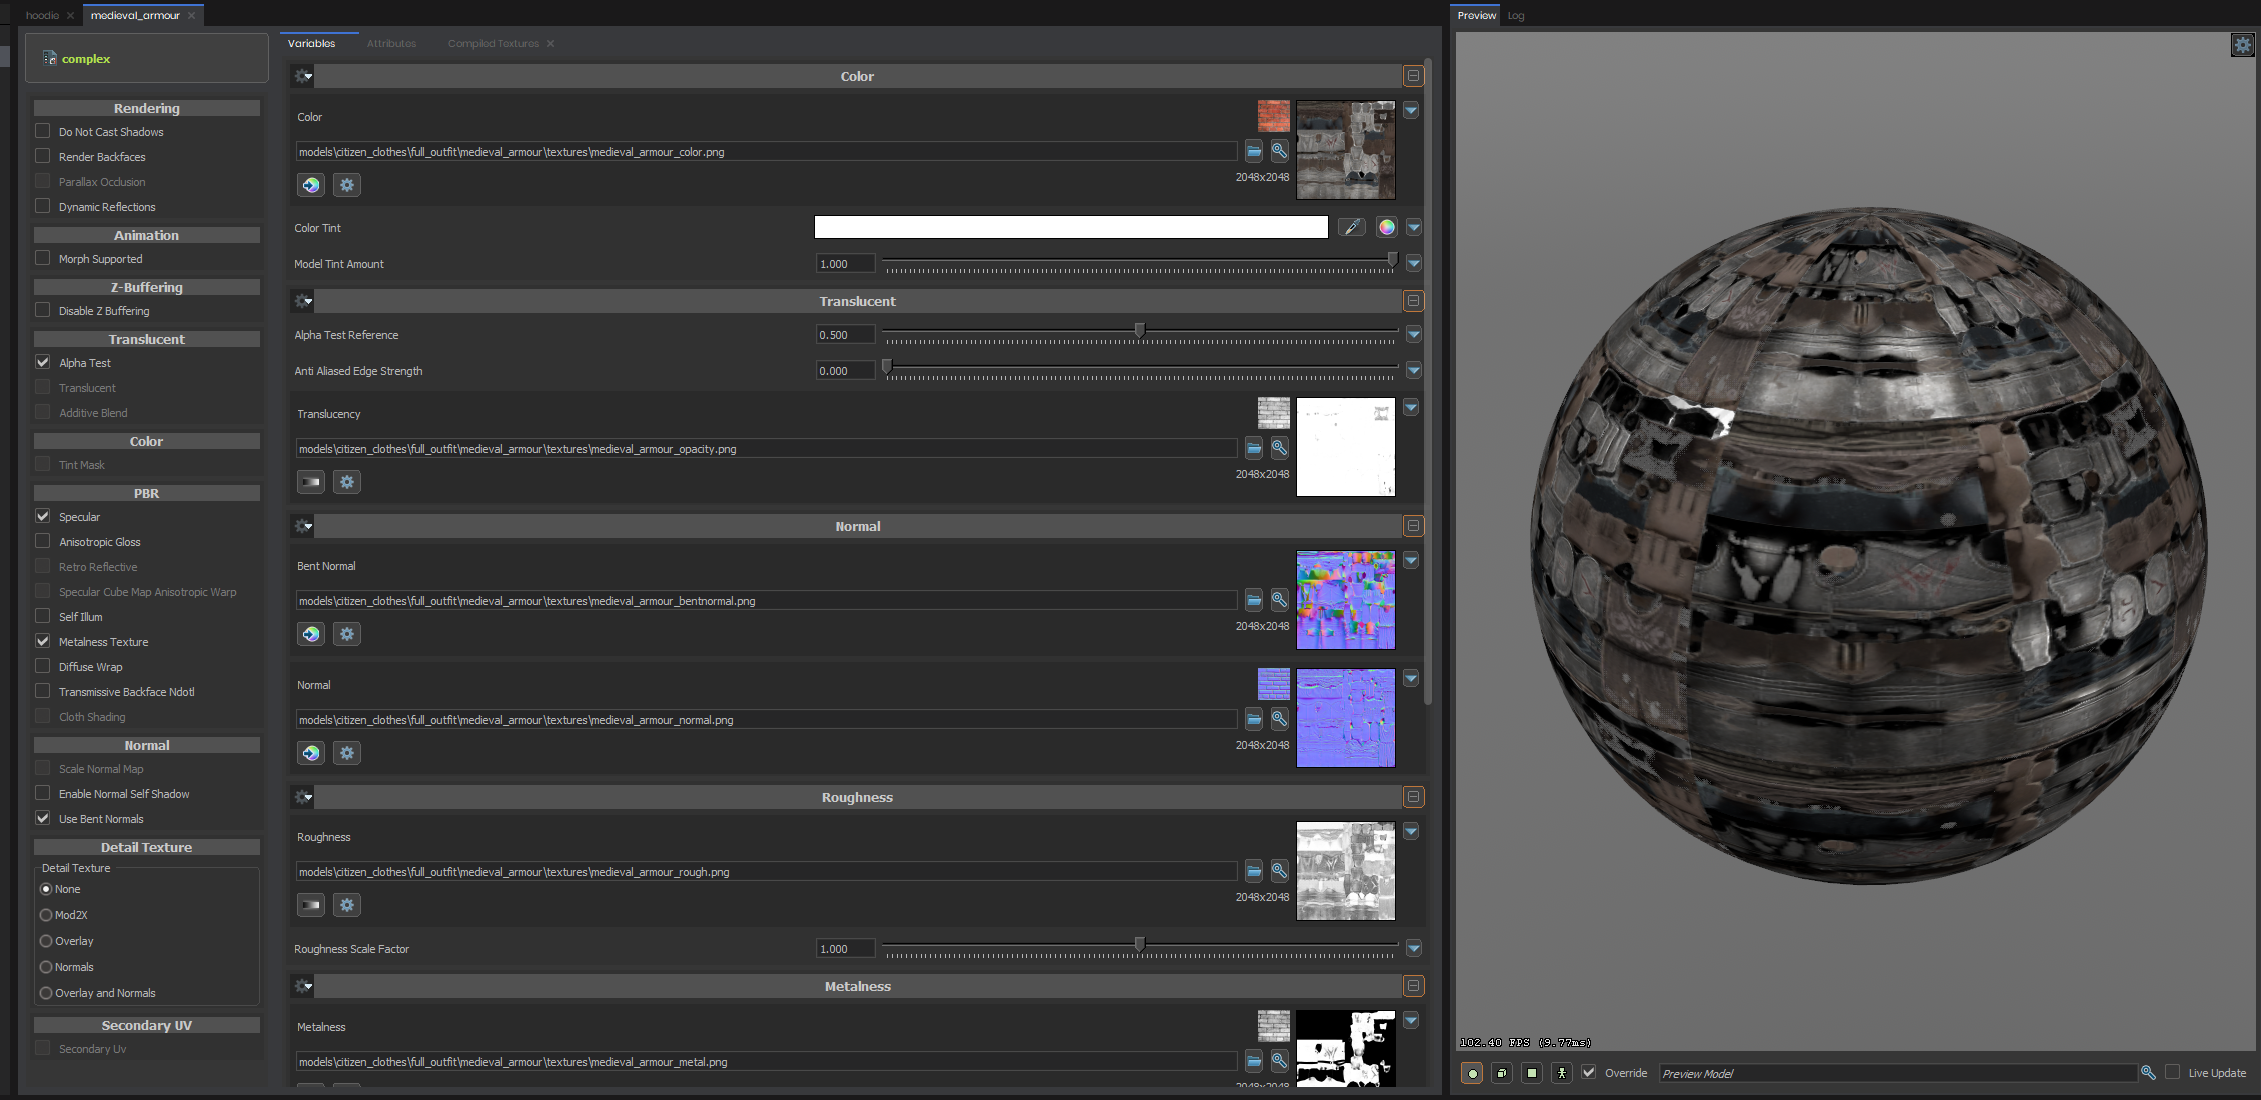
In the PBR settings on the left of the Material Editor…
Specular must be ticked on for the roughness map to work correctly.
\
Metalness Texture must be ticked on to be able to add your Metal texture.
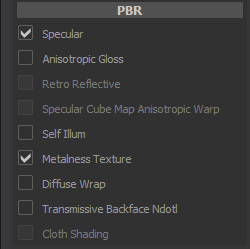
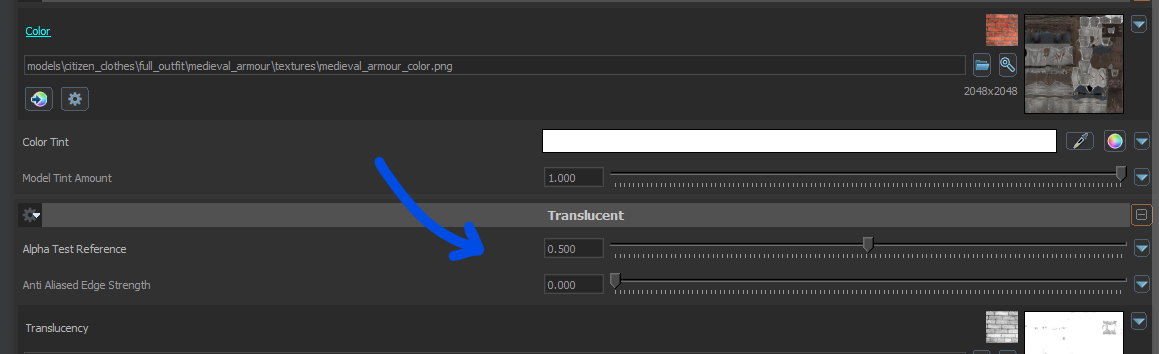
 In the Translucent settings…
- Tick on Alpha Test to be able to add your transparency texture.
Ticking this on will add these sliders to your Variables tab, which you can adjust to get your desired results.
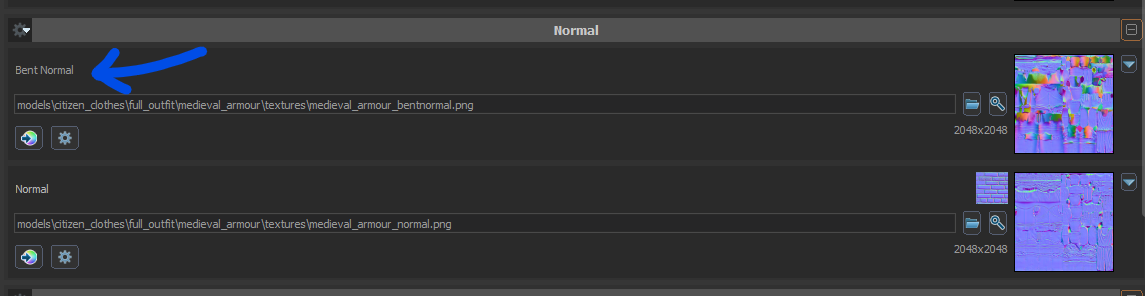
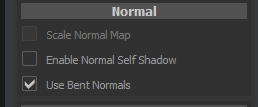 In the Normal settings…
- We use Bent Normal textures which you can usually bake in your texturing / baking software of choice.
Ticking this on will reveal the Bent Normal input, which will appear above the Normal input.
Ambient Occlusion settings…
By default, after adding your Ambient Occlusion map, both sliders just below will be set to 0, you will need to turn these up to get a suitable amount of ao.
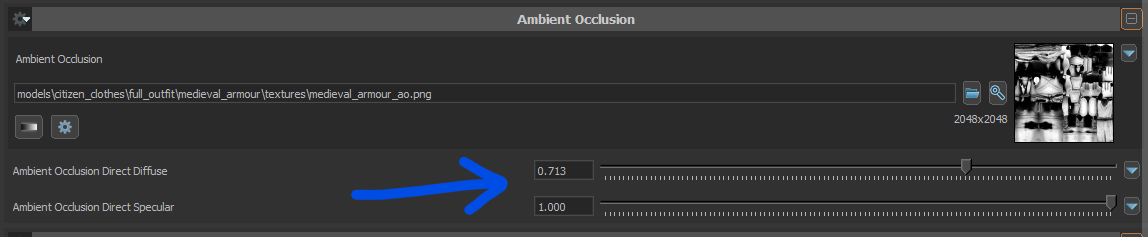
It's very easy to forget to turn up these sliders. If you don't, your ambient occlusion map won't show up.
Following our standard, we expect your material to include a Color, Normal, Bent Normal, Roughness and Ambient Occlusion Map. Metalness and Alpha Maps are optional, depending on what clothing texture you are making.
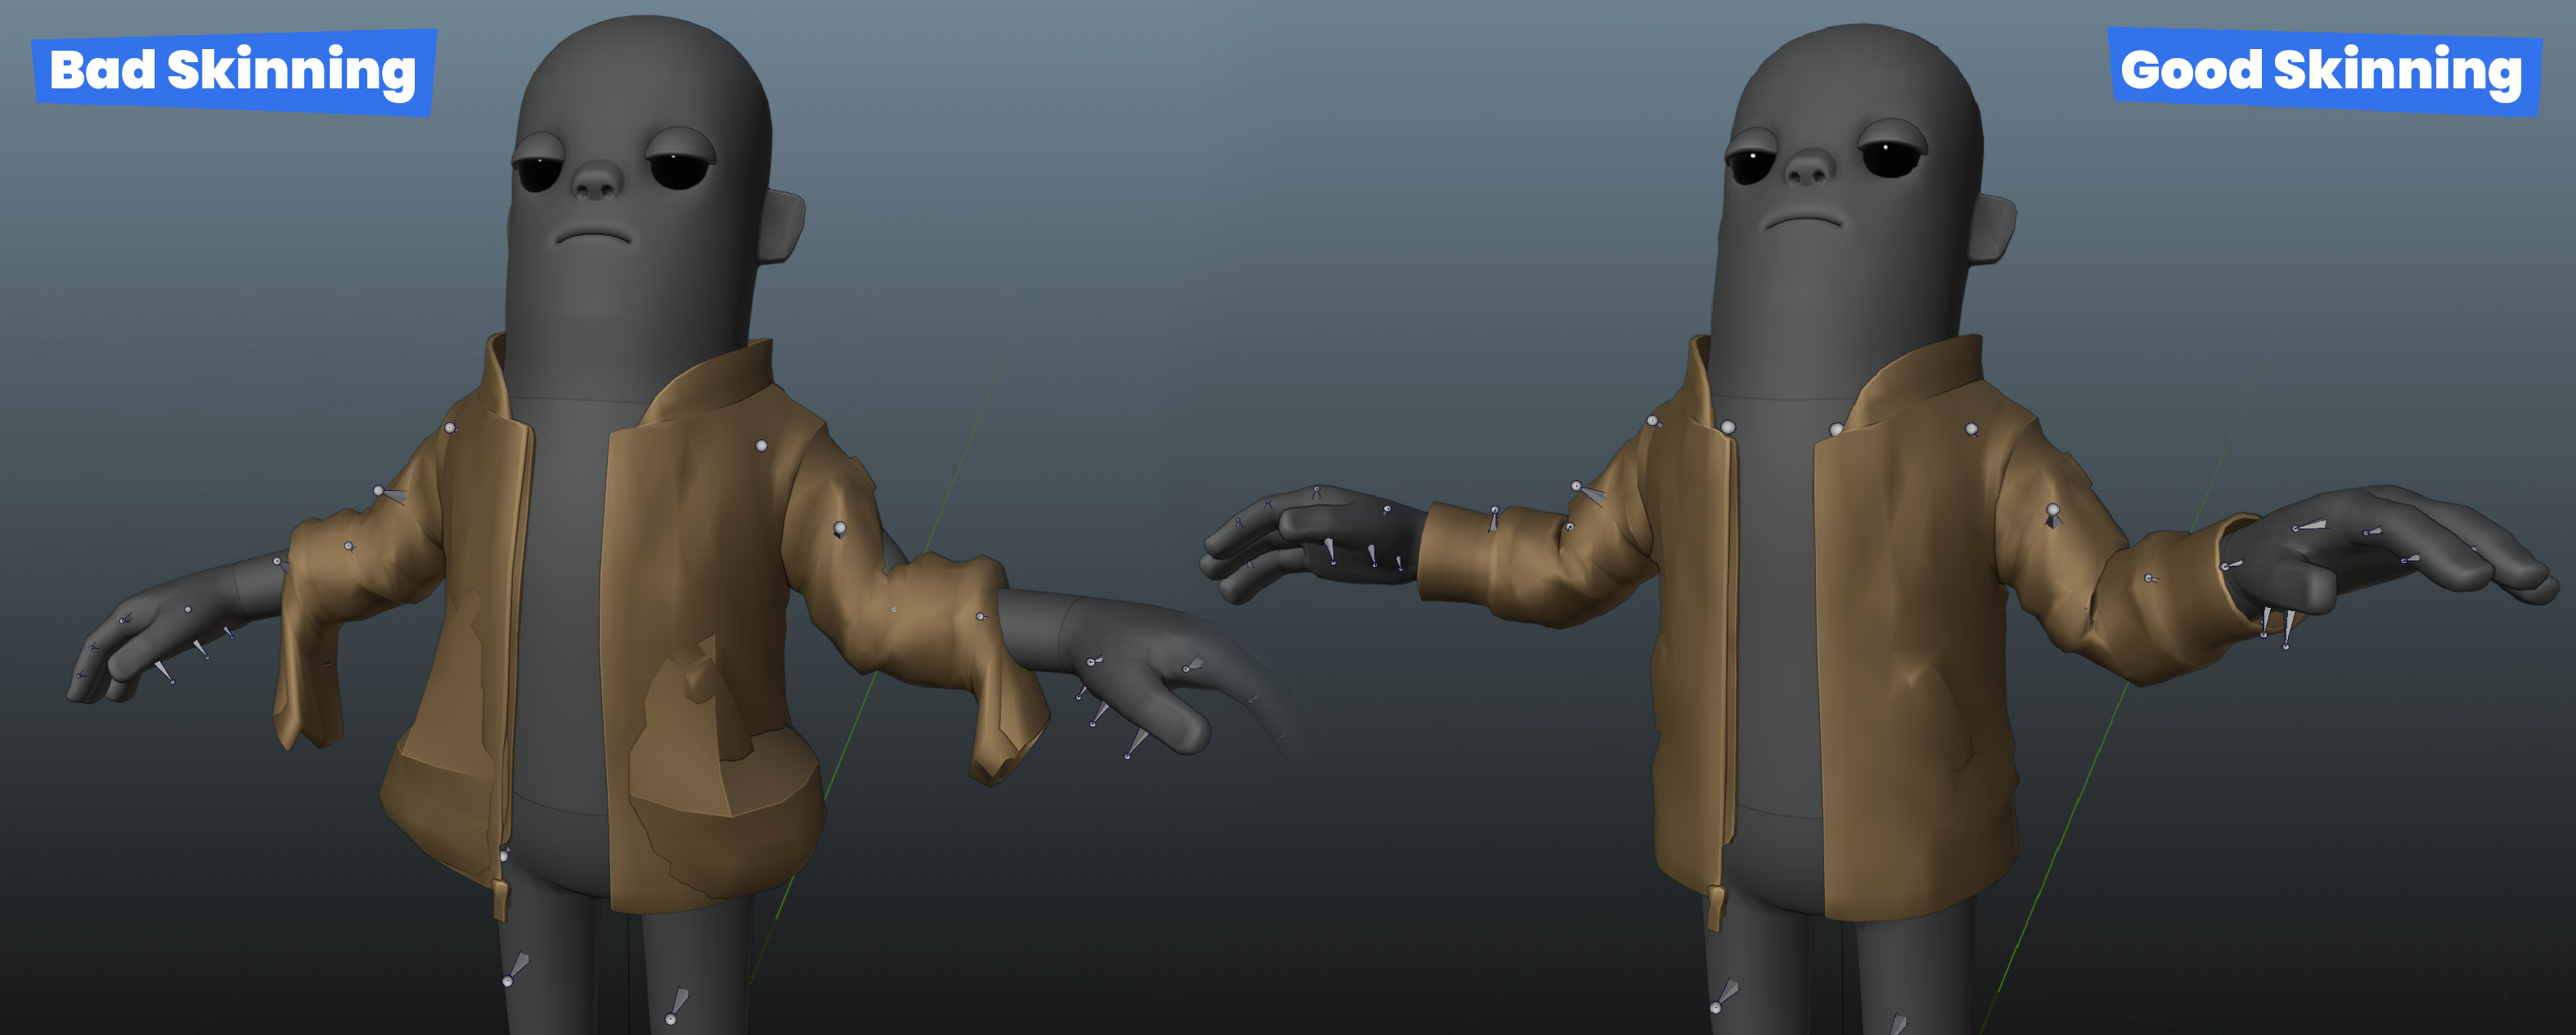
Clothing Skinning 🩻
At the final stage of making a clothing asset, you will need to 'skin' your model. We expect the results to be exceptional, without any obvious clipping, wrong skin-joint naming / missing joints or any major errors.
We recognise skinning adds more time to the production of making a clothing asset.
The most important thing to never forget when skinning: the limb bones ({arm/leg}_{upper/lower}_{R/L}) are "containers" for their *_twist{0/1} bones.
Limb bones aren't skinning anything and should never skin anything; only their underlying "twist" bones should be assigned to skinning. Limb bones are only "containers". If you don't respect this, height scaling will not work properly.
We understand minor errors can happen. Though errors that are very noticeable will be flagged as an issue and will harm the chances of your clothing submission being accepted.
'Level of Detail' meshes (LODs) ⚙️
These are mandatory.
Level of detail meshes keep processing load down on the GPU. When lots of triangles are packed in a very small area of the screen, the GPU spends a long time rendering the same pixels over and over. Simplifying meshes at a distance avoids this.
Here's how we generally approach making LOD meshes for clothing.
LOD0: the starting point.
5,000 triangles in this example.
LOD1: 4,000 triangles, fairly short distance.
This level only reduces the highest detail areas.
LOD2: 1,000-1,500 triangles, medium distance.
This level leaves major shapes and folds intact. Small details would be heavily reduced.
LOD3: 100-200 (or less) triangles, long distance.
Extremely basic shapes. At this point, the character is only a handful of pixels on the screen.
LOD4: optional, removing extra materials.
When we use this level, we use the same mesh as LOD3, but with only one material, to further reduce draw calls. For example, the Citizen character's eyes are removed in LOD4. Depending on your design, you could proceed with this material reduction on LOD3 as well.
Here's an example with one of our hoodies.
Always keep in mind that your model will be seen from primarily a third person view. At LOD2 and LOD3, most fine details will be barely seen.
You can check your LOD meshes in ModelDoc through the wireframe feature, or the 'quad overdraw' debug visualization. Here's an example of how this looks with the Citizen character:
When you see the wireframe turning 'solid', this is a sign triangle density should be reduced. Likewise, in the 'quad overdraw' view, solid blue is best.
Final Model Checks ☑️
You're close to finishing and submitting your asset, but first consider -

Does your clothing asset have…
- [ ] A reasonable triangle count ?
- [ ] Good topology that deforms and skins well?
- [ ] No more than two materials?
- [ ] Suitable texture size(s)?
If you're unable to check one of these off, consider adjusting your model.
If you're finding it difficult to estimate the size of your triangle counts, how your topology should look in certain areas, how to manage your materials and their texture sizes… consider reaching out to the s&box team through our community Discord server.
Human Variations 🧍
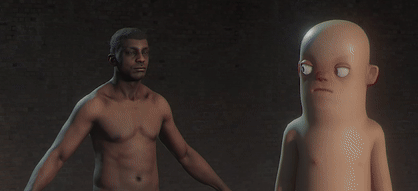
On top of making your clothing asset, you will need to make a human variation, potentially a female human human variation as well.
We understand this sounds like double the amount of time and energy.
While this is extra work, this is much easier than you'd expect.
 When you make your
 .clothing file that will feature your asset's .vmdl file. You'll need to plug in a separate VMDL in the 'Human Alt Model' input.
You also will need to add a Human Alt Female Model, but that is specific to shirts that show off skin. Coats, gloves, hats, shoes, will not need a female version.
This allows players to choose between the citizen or the human version of your clothing, giving them option, gives them double the usage.
We have supplied a how-to guide that runs through morphing clothing to human variation. Hopefully to dispel any worries, you'd be surprised how straightforward it is.
Read through our Morphing to Human Guide.
Tips and Advice 🫂
We understand this is a lot to take in, to read through; there are a lot of requirements to follow, and a lot of information to digest.
If you find yourself lost, are in need advice, or seek an answer to a question, you can find help in the offical s&box Discord or the community cosmetic Discord.
This is one of the best ways spaces to reach out to other creators and the s&box development team.
Good luck, and have fun!
Created 20 Dec 2024
Updated 20 Mar 2026