Morphing to Humans
Morphing your Clothing to Humans
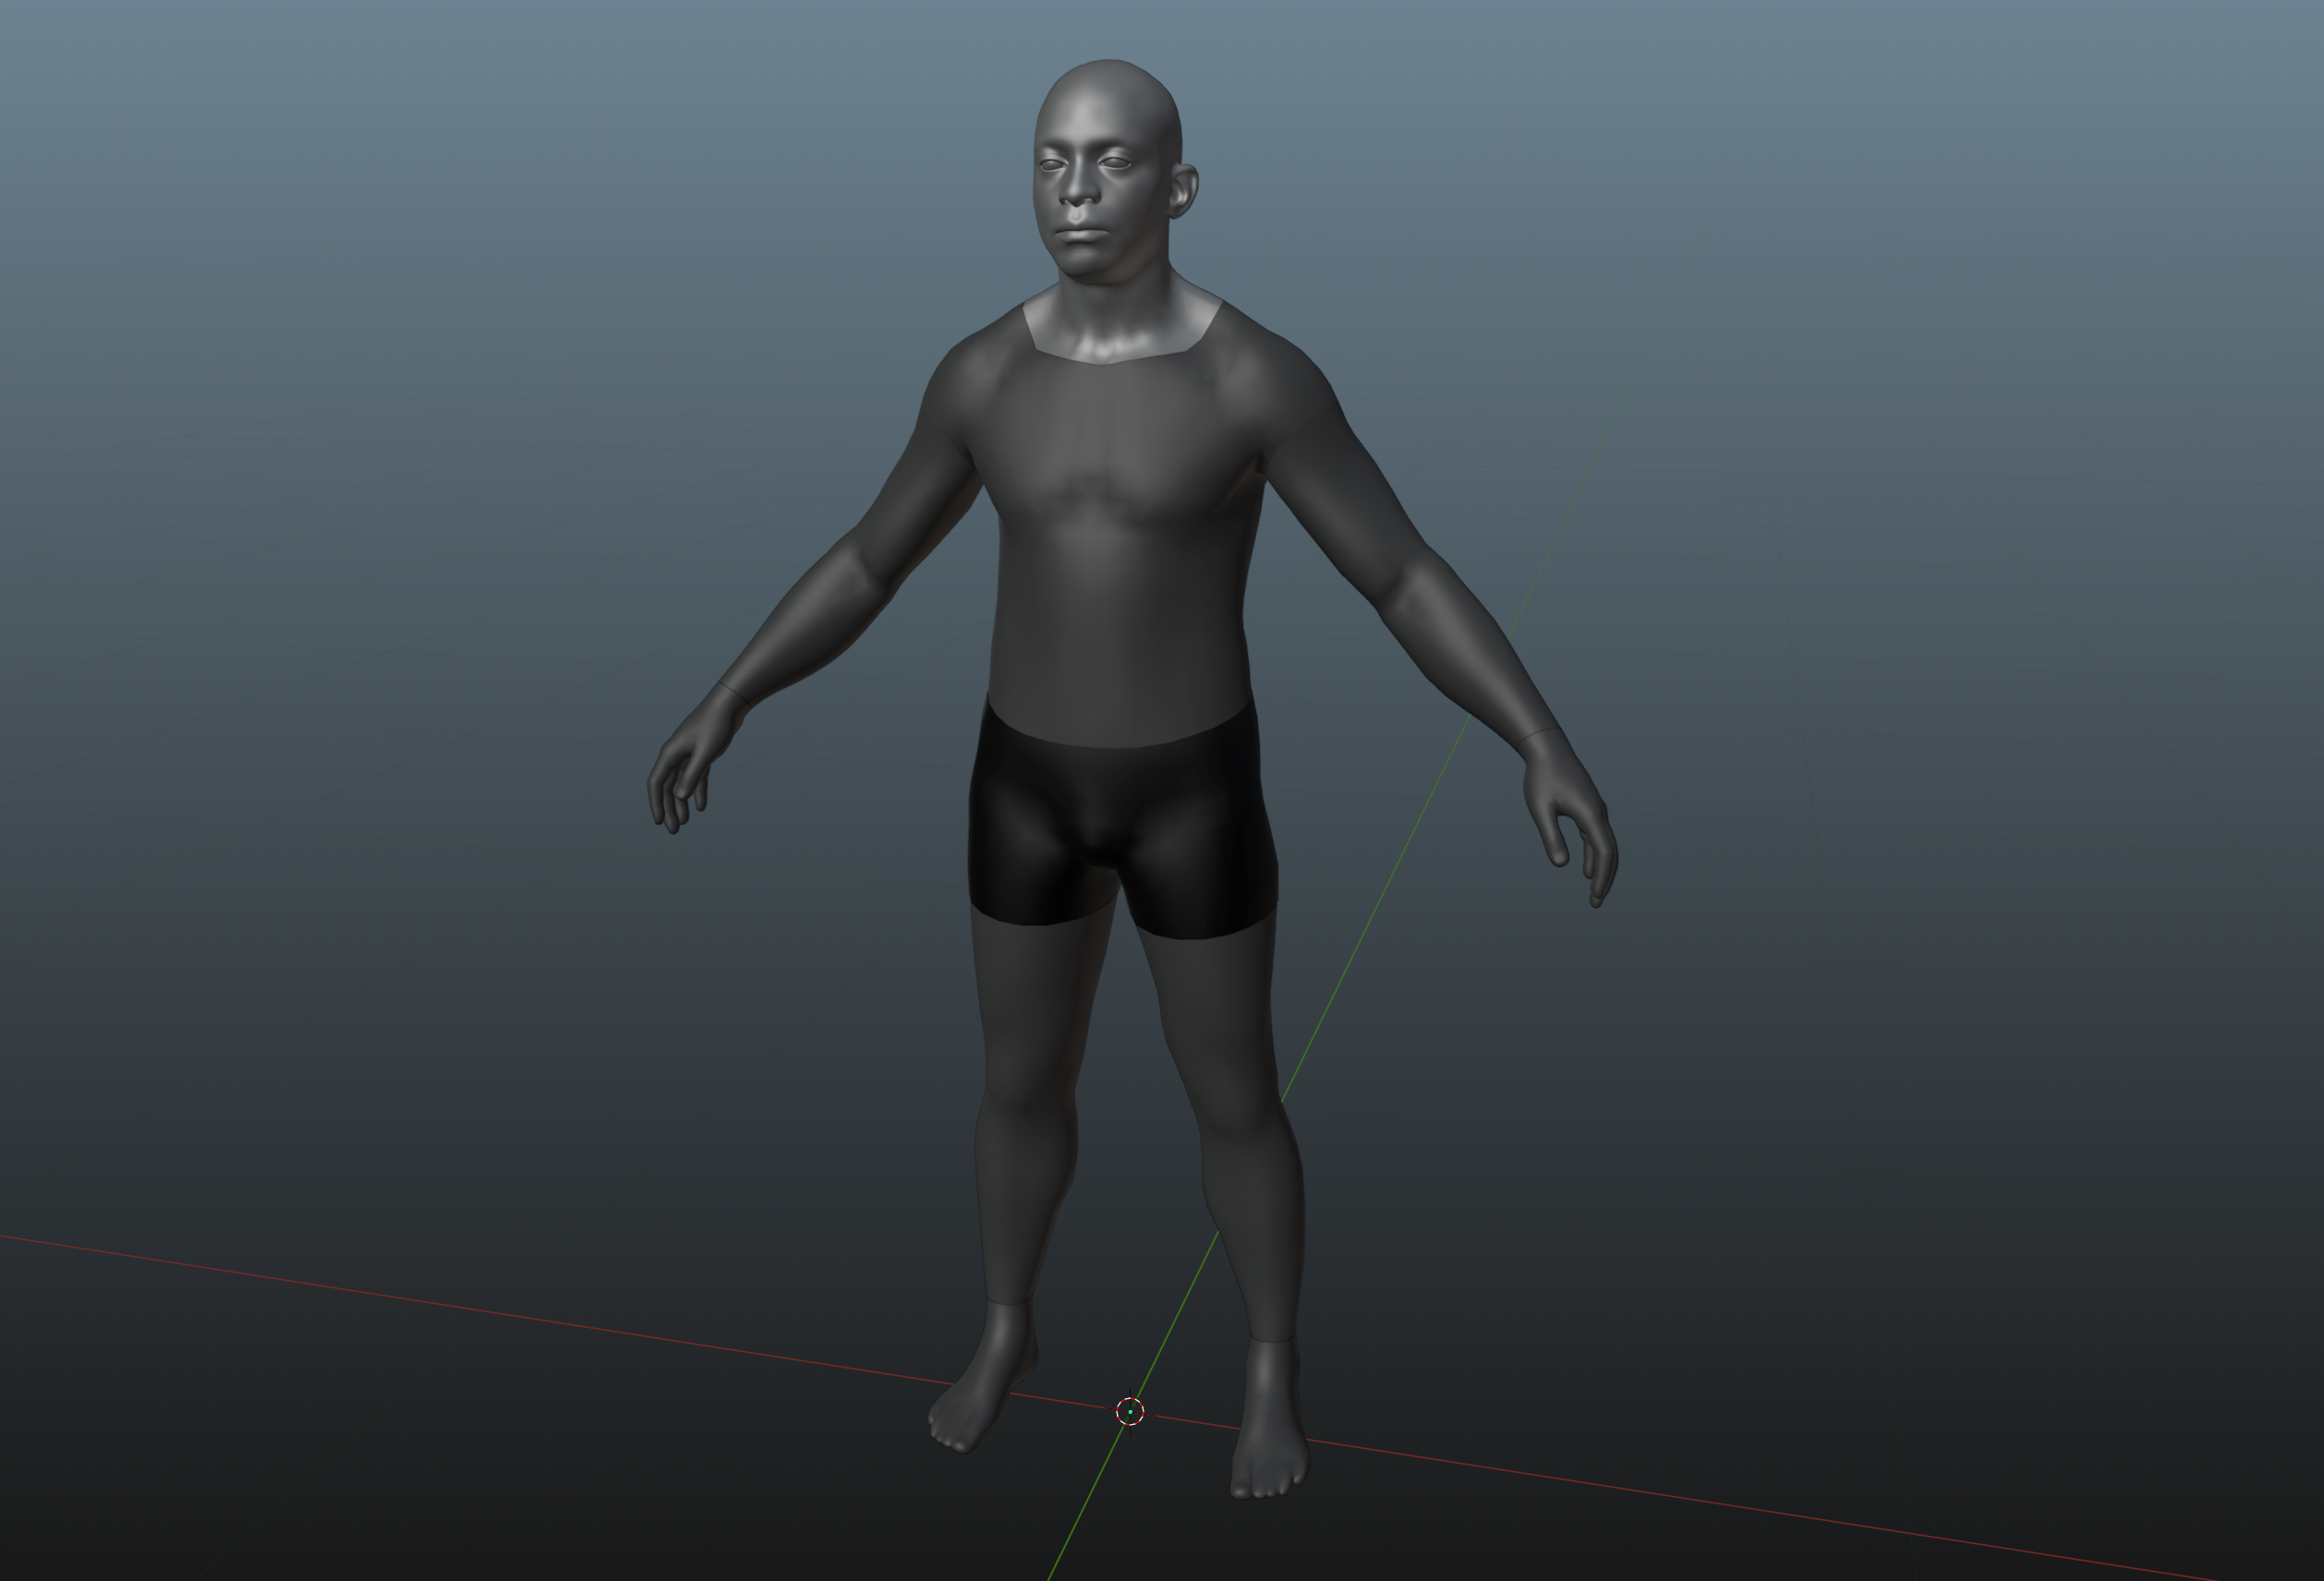
Dependant on how complex / simple your model is, morphing to the human mesh can be very straightforward.
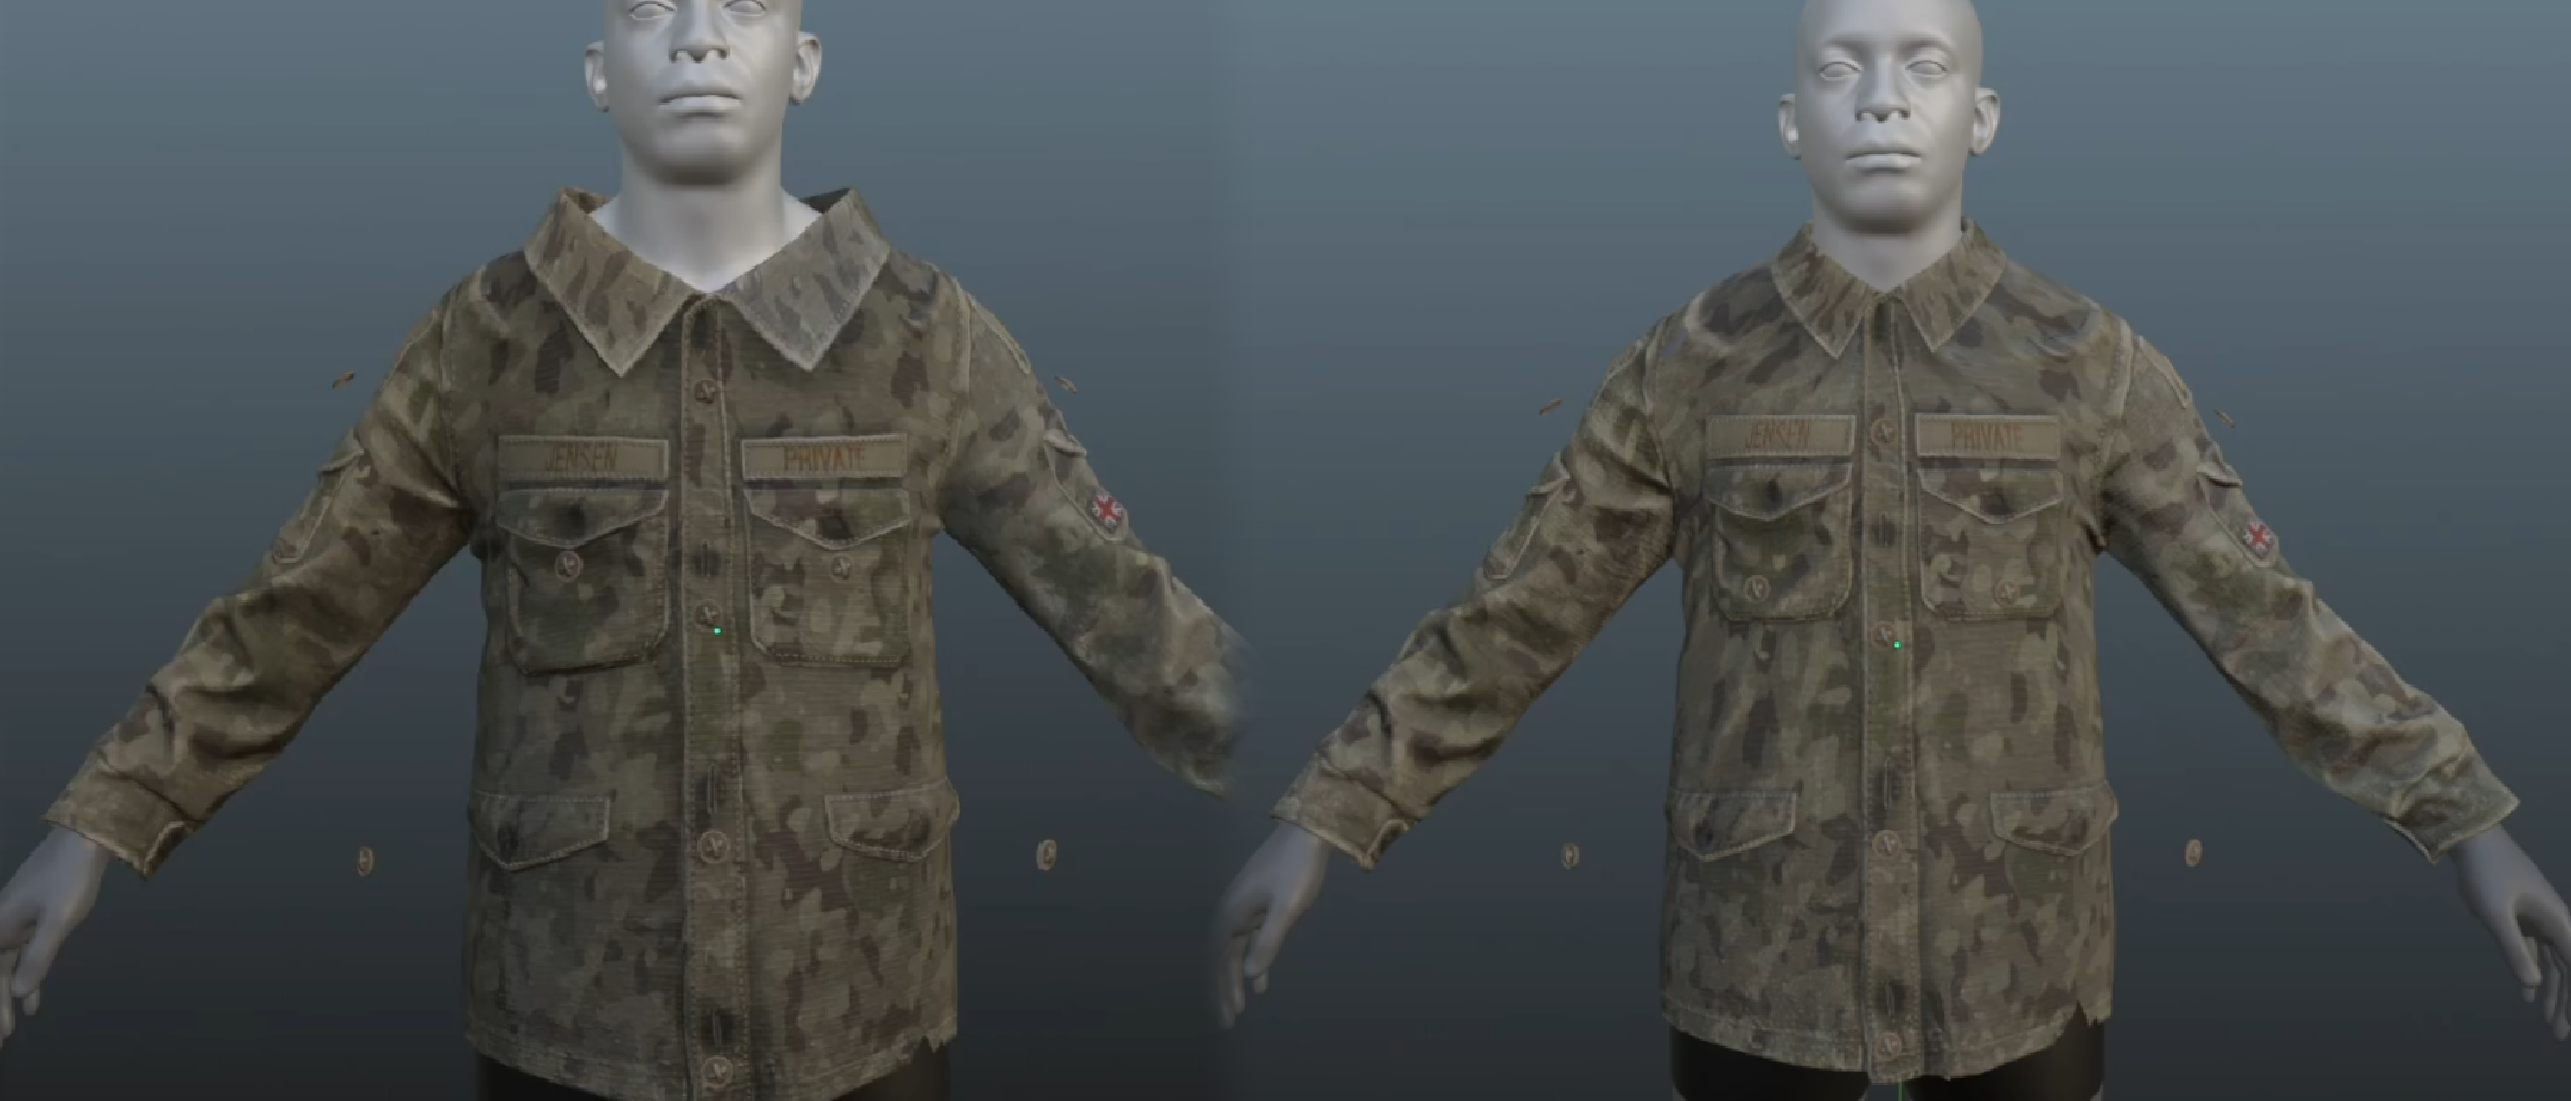
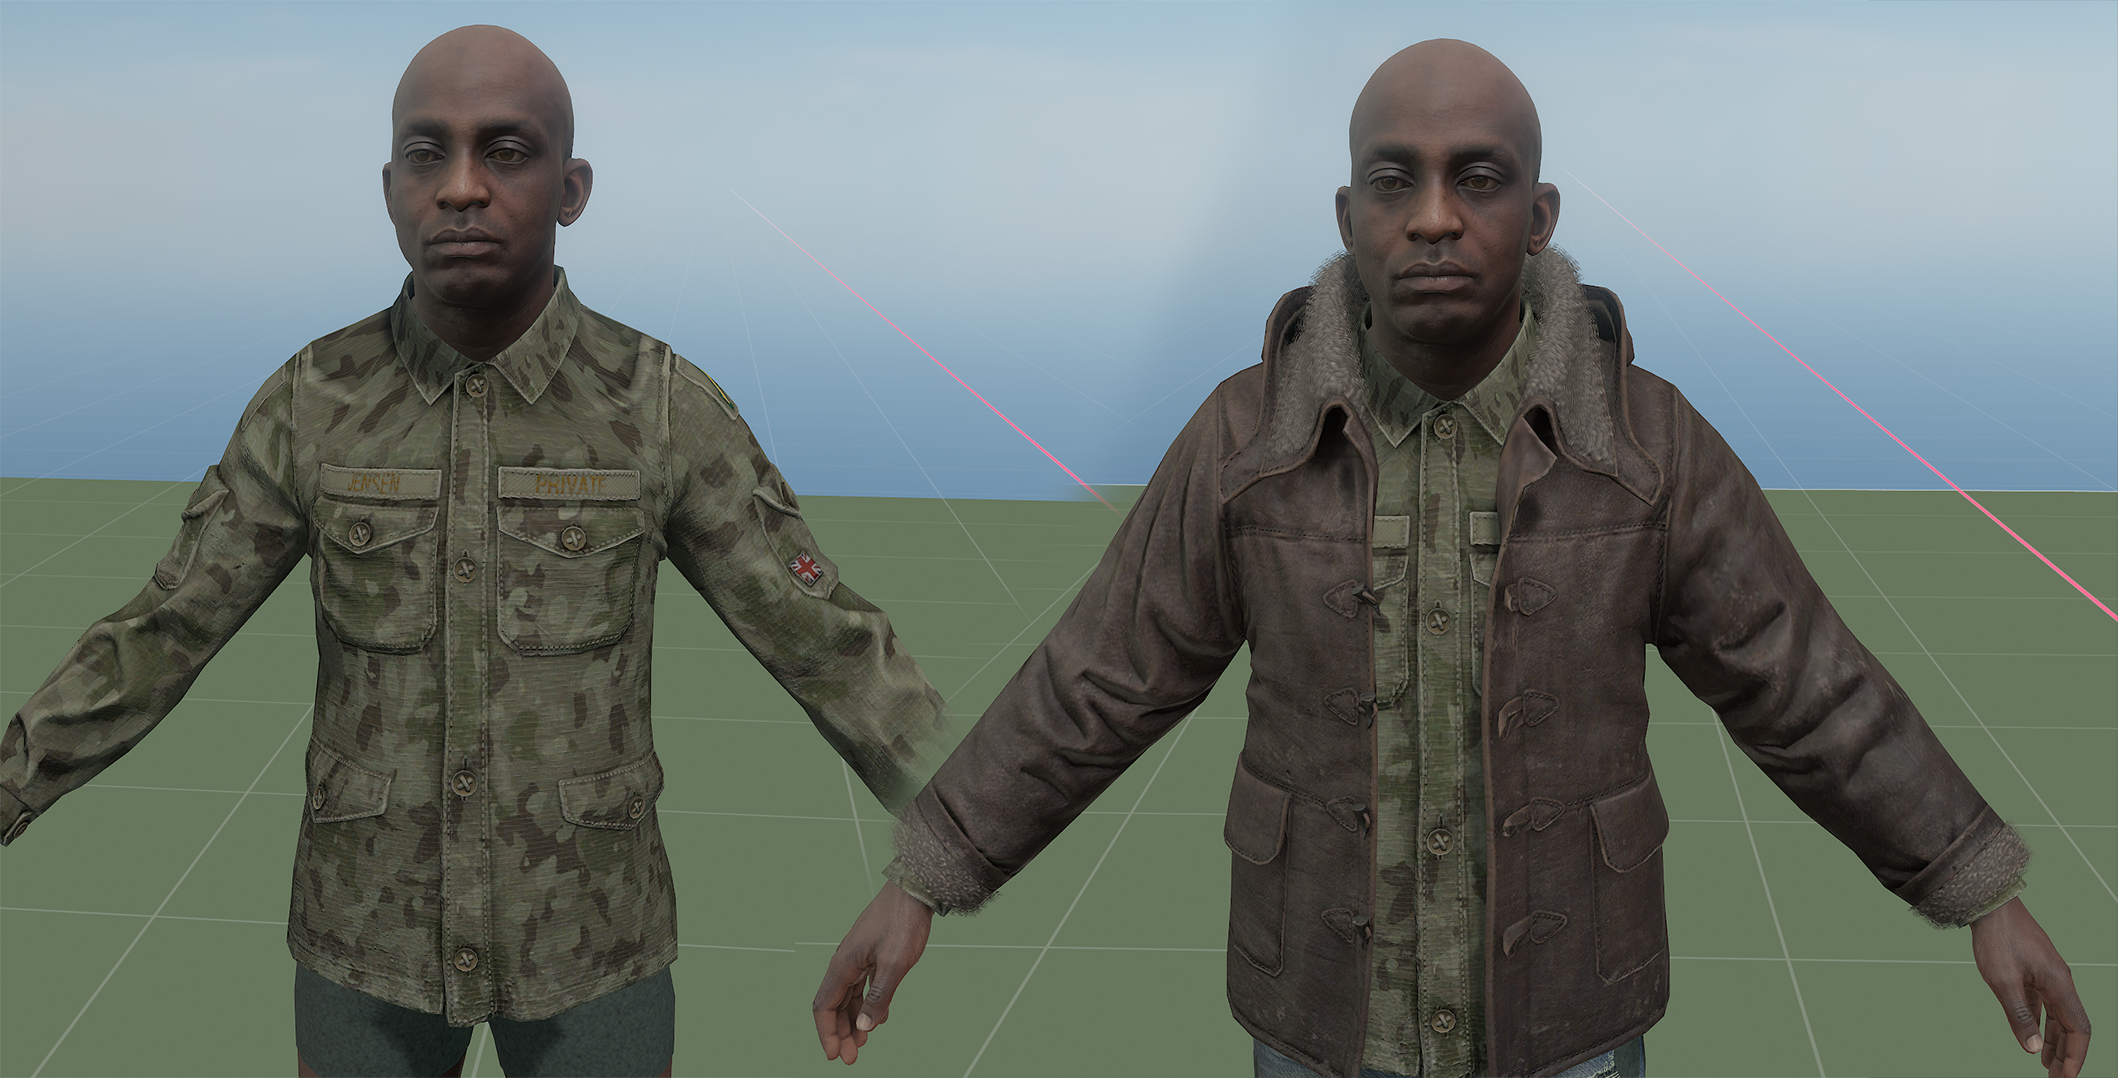
The example shown below is a quickly done morph of a clothing piece we've found as one of the hardest clothing pieces to get right on the human. The lack of shoulders, multiple details and pieces that distort very easily.
Important Files & Setup
To start working on a human version of your clothing, like the original citizen, you'll need a REF.fbx file.
Go to - sbox\addons\citizen\Assets\models\citizen_human
And grab citizen_human_male_REF.fbx.
 This is what we use to work on our human versions of our clothing. Like the
 citizen_REF.fbx, it supplies the rig and skinning.
Moving Major Shapes
Firstly, we want to bring the neck loosely up to the same position of the human neck. As well as moving the wrists into position. No need to rotate or resize anything yet.

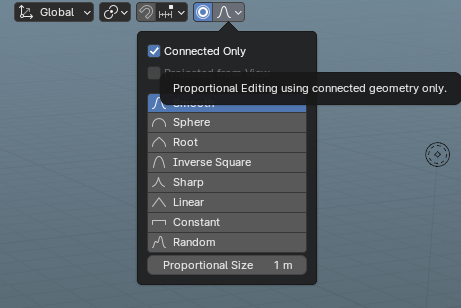
We use soft select for smooth results when moving around the mesh, which is a feature in most 3D software.
Turning Connect Only on when using Soft select, will allow you to adjust the arms without effecting the nearest topology, keeping the chest area from being morphed.
This works great when getting the arms quickly morphed without effecting the chest.
Any details like buttons, separate meshes, keep removed while morphing the main body of the clothing, as to keep from distorting the buttons. Later you can place them back on.
Moving Details
Moving the neck closer to the body, adjusting the pockets, this stage I'm focusing on the secondary shapes and details to fit them correctly onto the human body.
Any morphing done will cause stretching and possible distortion of certain details, at this stage, we spent the time to fix and adjust these distorted area, till we are happy with the results.
Adjustments and Fixes
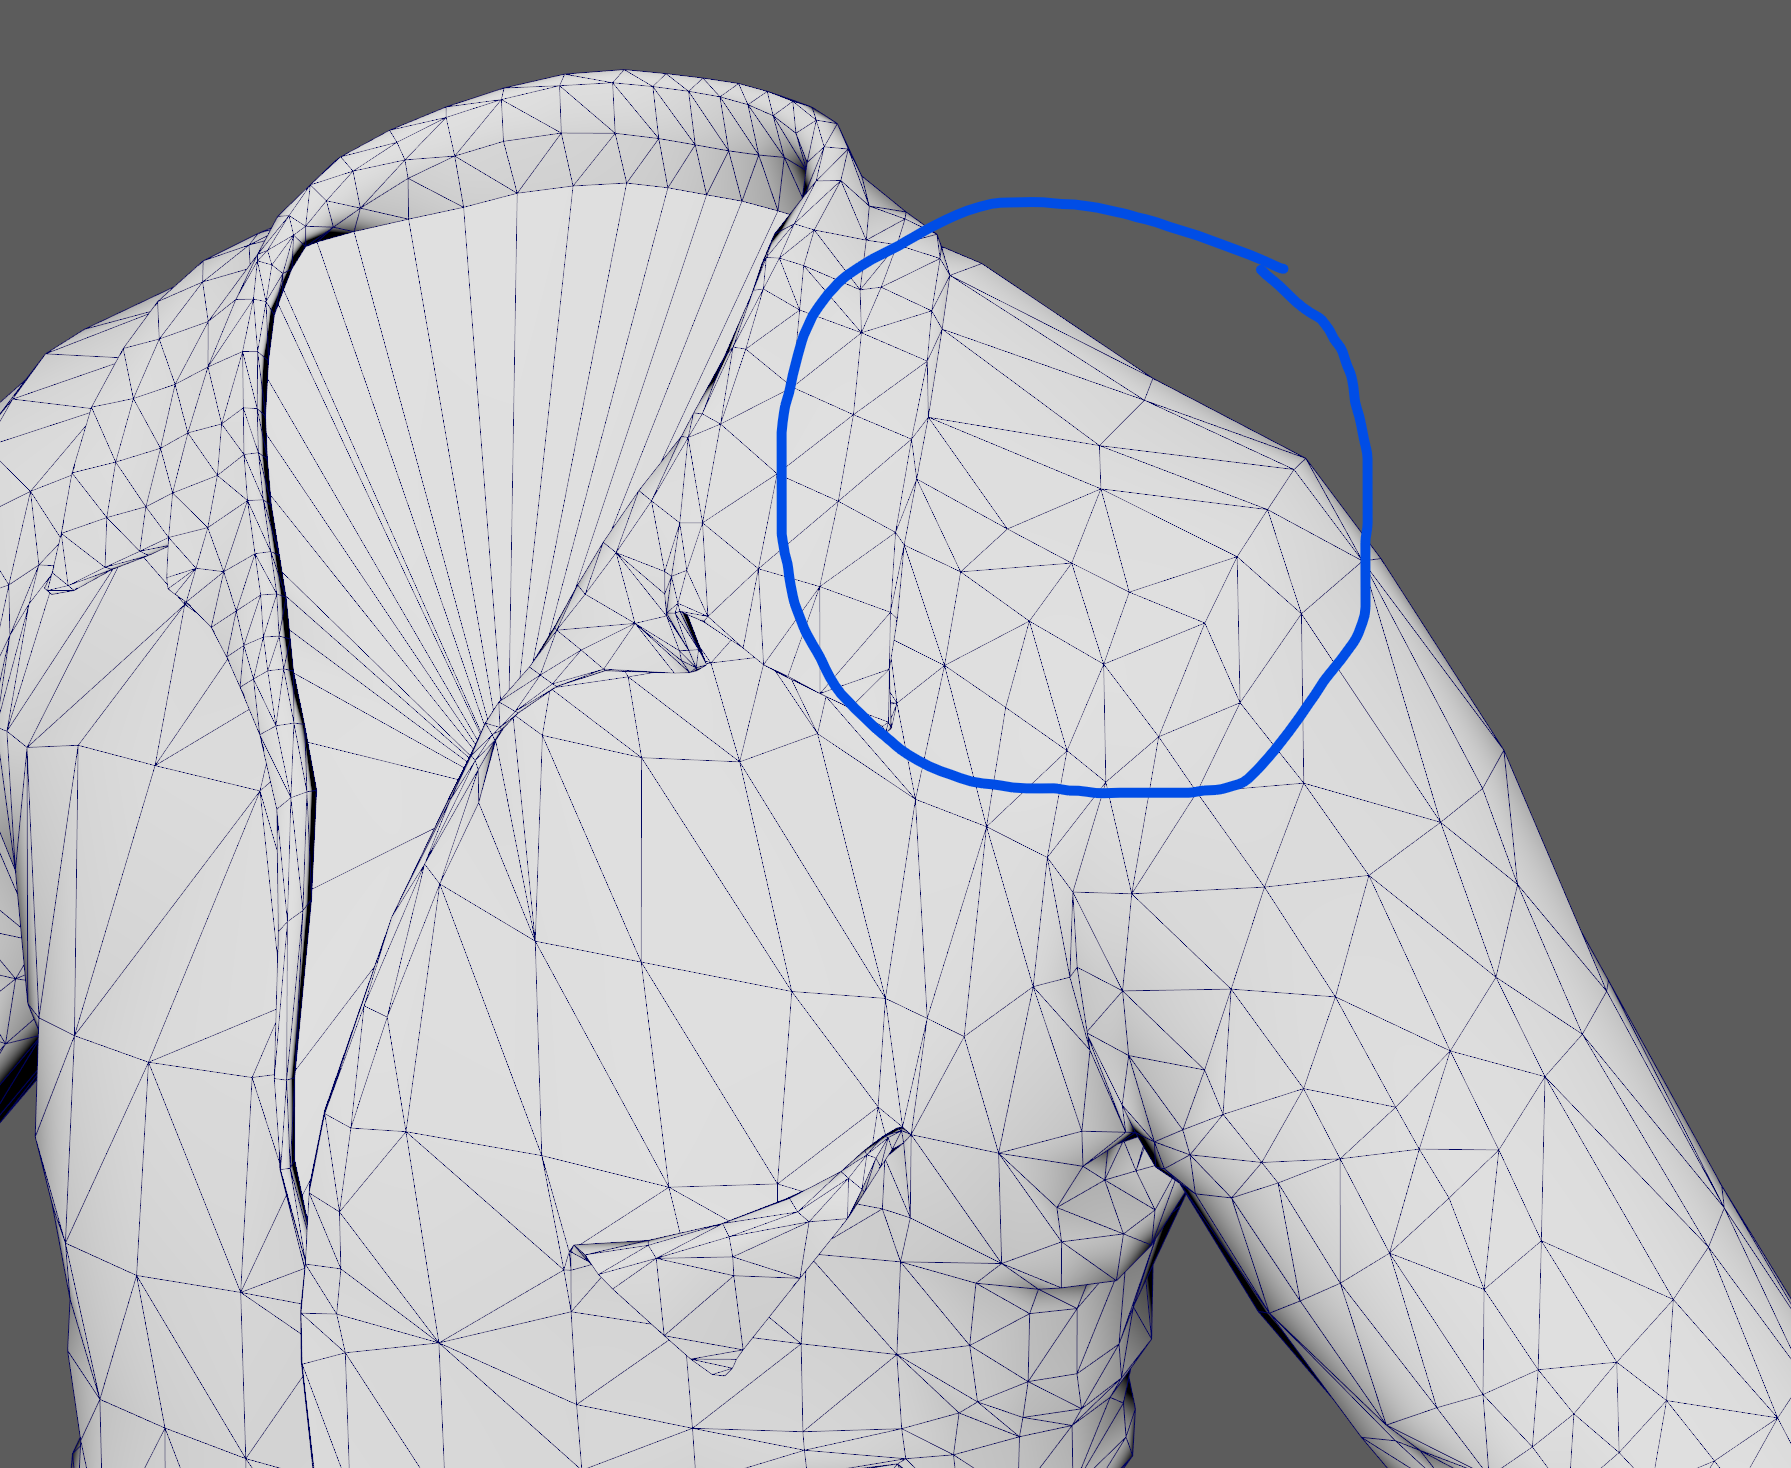
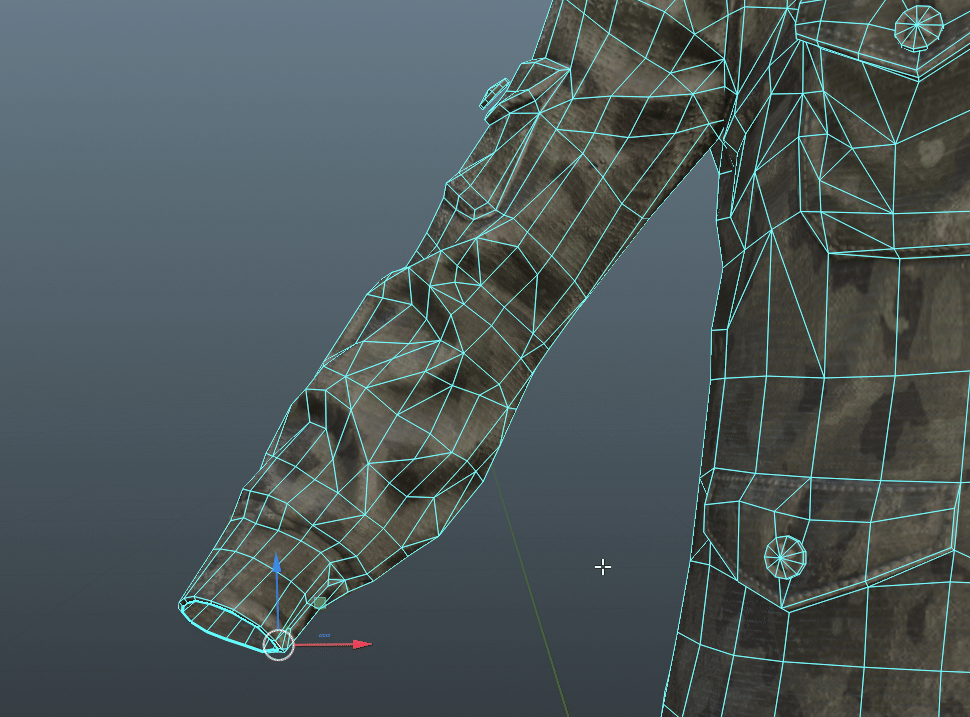
 When morphing clothing, you'll find areas that are so stretched that you'll need to add more edge loops to even it out.
In this example shirt, you can see the shoulders, since they were stretched so far to fit the collar around the neck, the shoulder barely have any edge loops.
The easy solution is to reinforce the area with more edge loops.
Since the UVs are staying the same, you should be able to add edge loops easily without distorting the original texture.
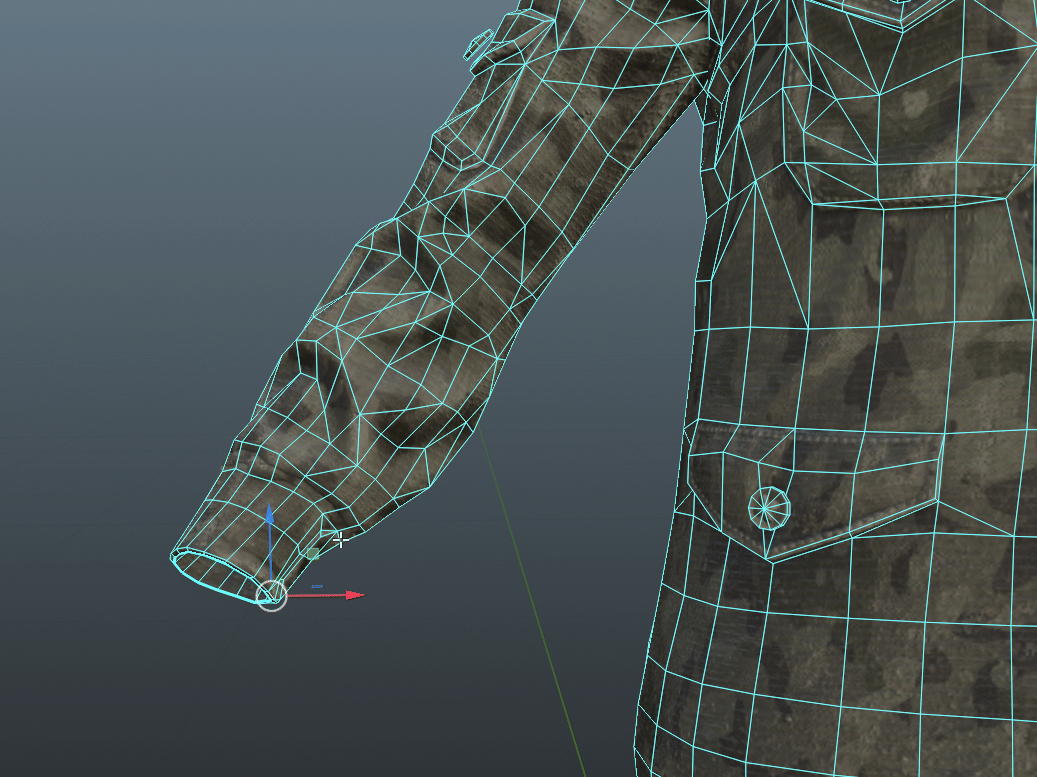
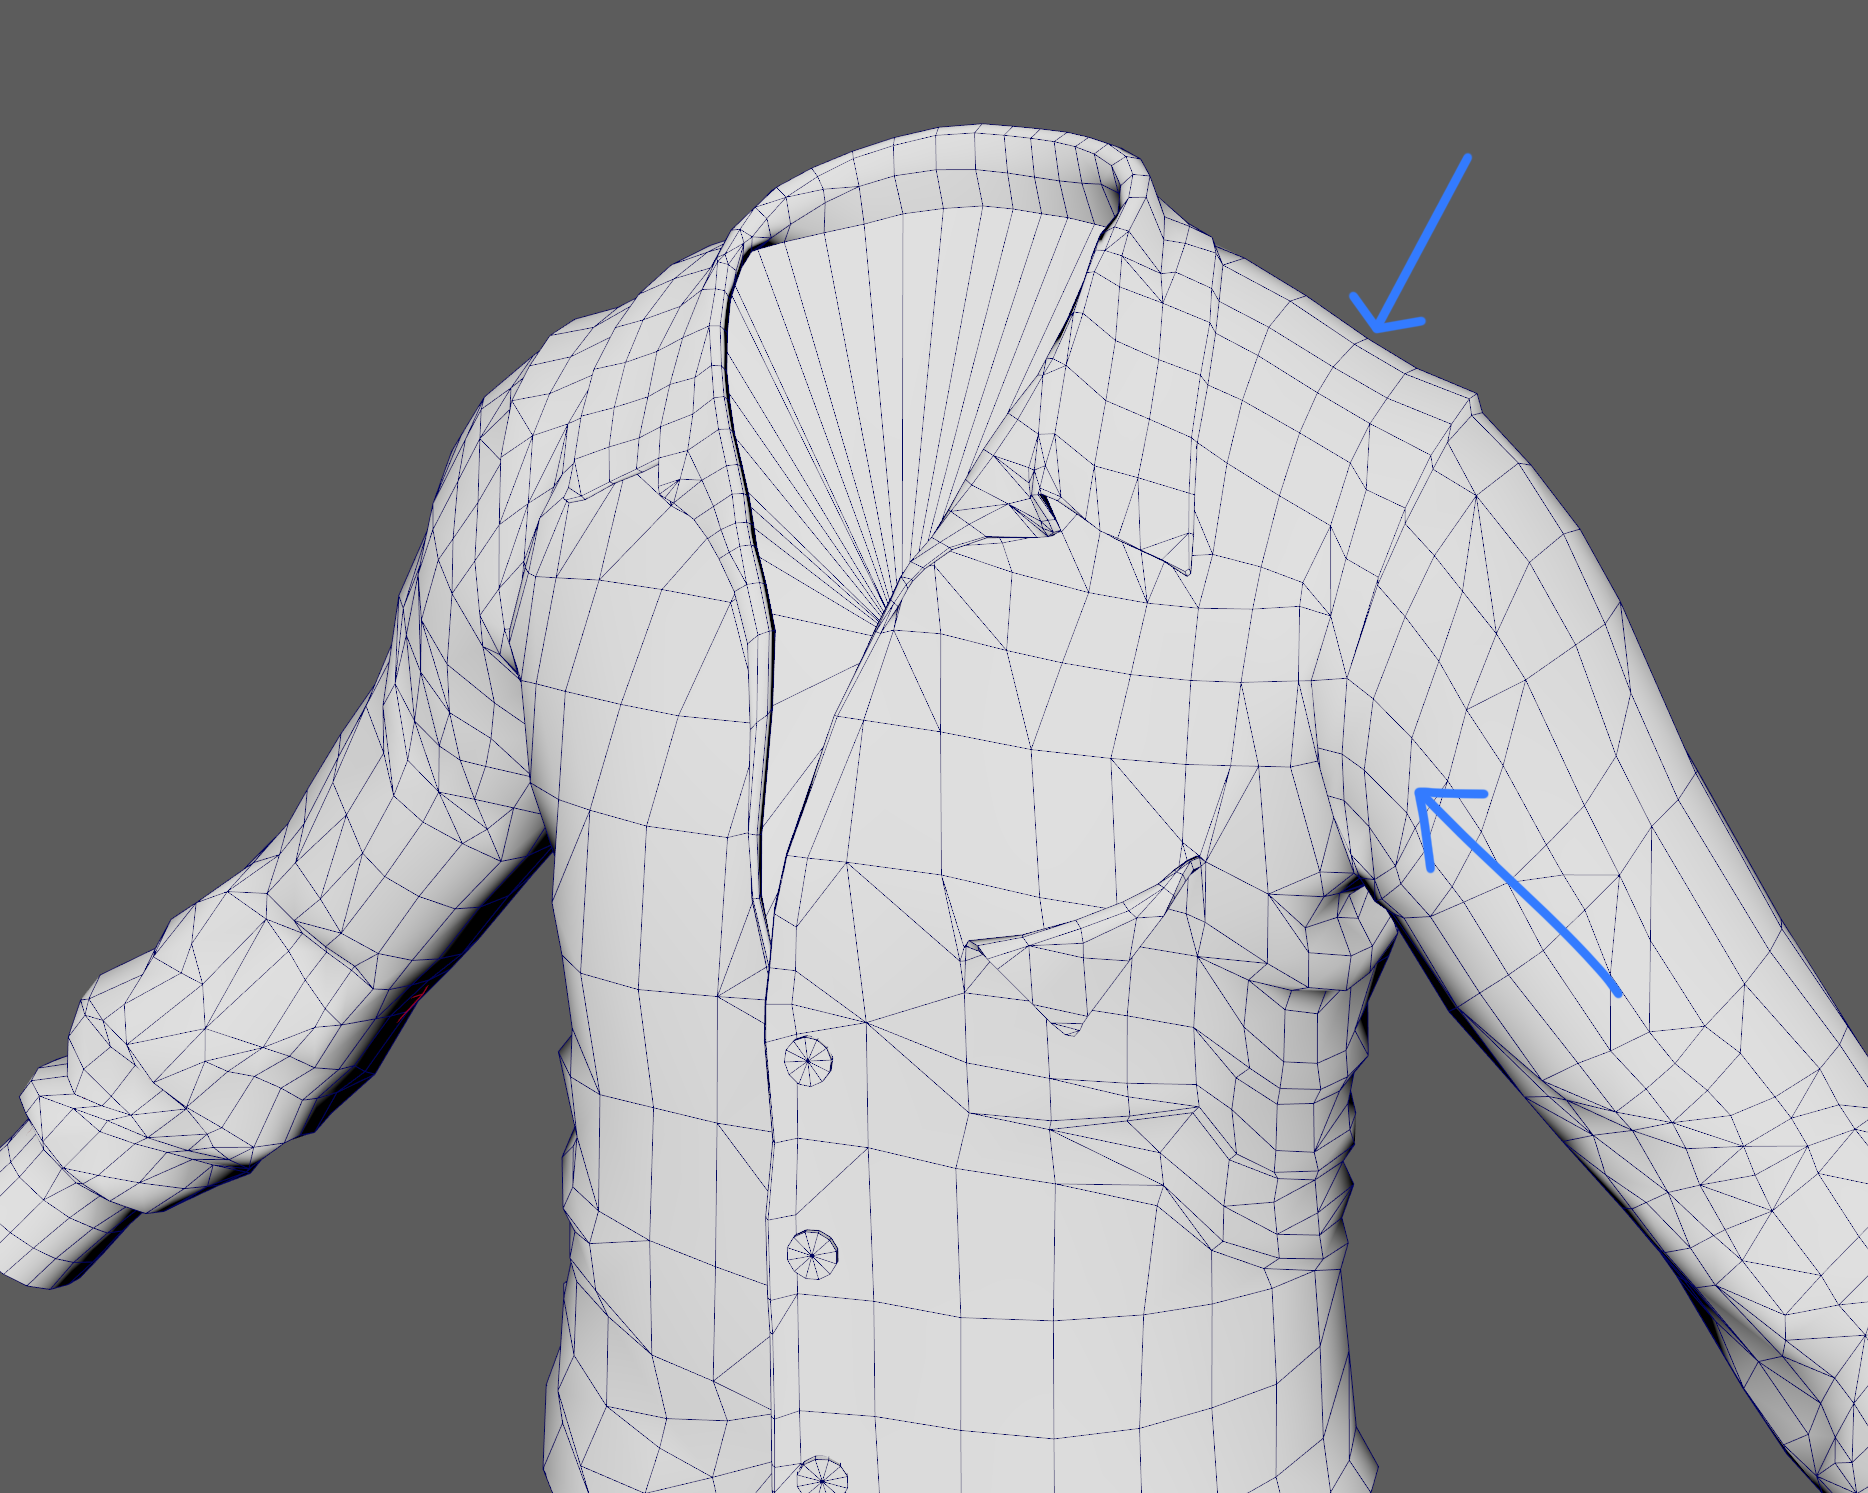
You're heavily morphing a model. Distorted, stretched textures and wobbly topology should be fixed, though sometimes it's inevitable that some distortion is near impossible to completely fix. That's fine.
Here you can see the stretched human model has some distortion in the textures compared to the original citizen version. This can be further adjusted and fixed. Though, we're not expecting miracles, this amount of morphing is going to produce distorted results.
What to Keep in Mind?
- Give more room around the shoulder area so there's more to play with when stretching it out to the human shoulder size.
Older clothing pieces naturally weren't made to be morphed to humans, so had little to no shoulders room, creating stretched textures.

Final Checks & Layering
Like with the original citizen clothing, we want to test that our clothing fits over and under the other clothing layers. Read the Layering Clothing page for reference.
LODs
LODs are still needed for the human versions of clothing. You can do this relatively quickly by 'Transferring Attributes' to the original Citizen clothing LODs using the same UVs.
Here is an example of 'Transferring Attributes' in Maya. Other software have different ways of doing this.
There are plugins in software like Blender that allow you to Transfer Attributes. Using the same UVs of LOD0 from LOD 1,2,3 previously made for the citizen to transfer the vertex positions.
Though worst case, you may need to redo the LODs for the human version as well as the citizen.
If you're making major changes to the topology to fit it better around the human, creating a unique LOD 1, 2 and 3 may be inevitable either way.
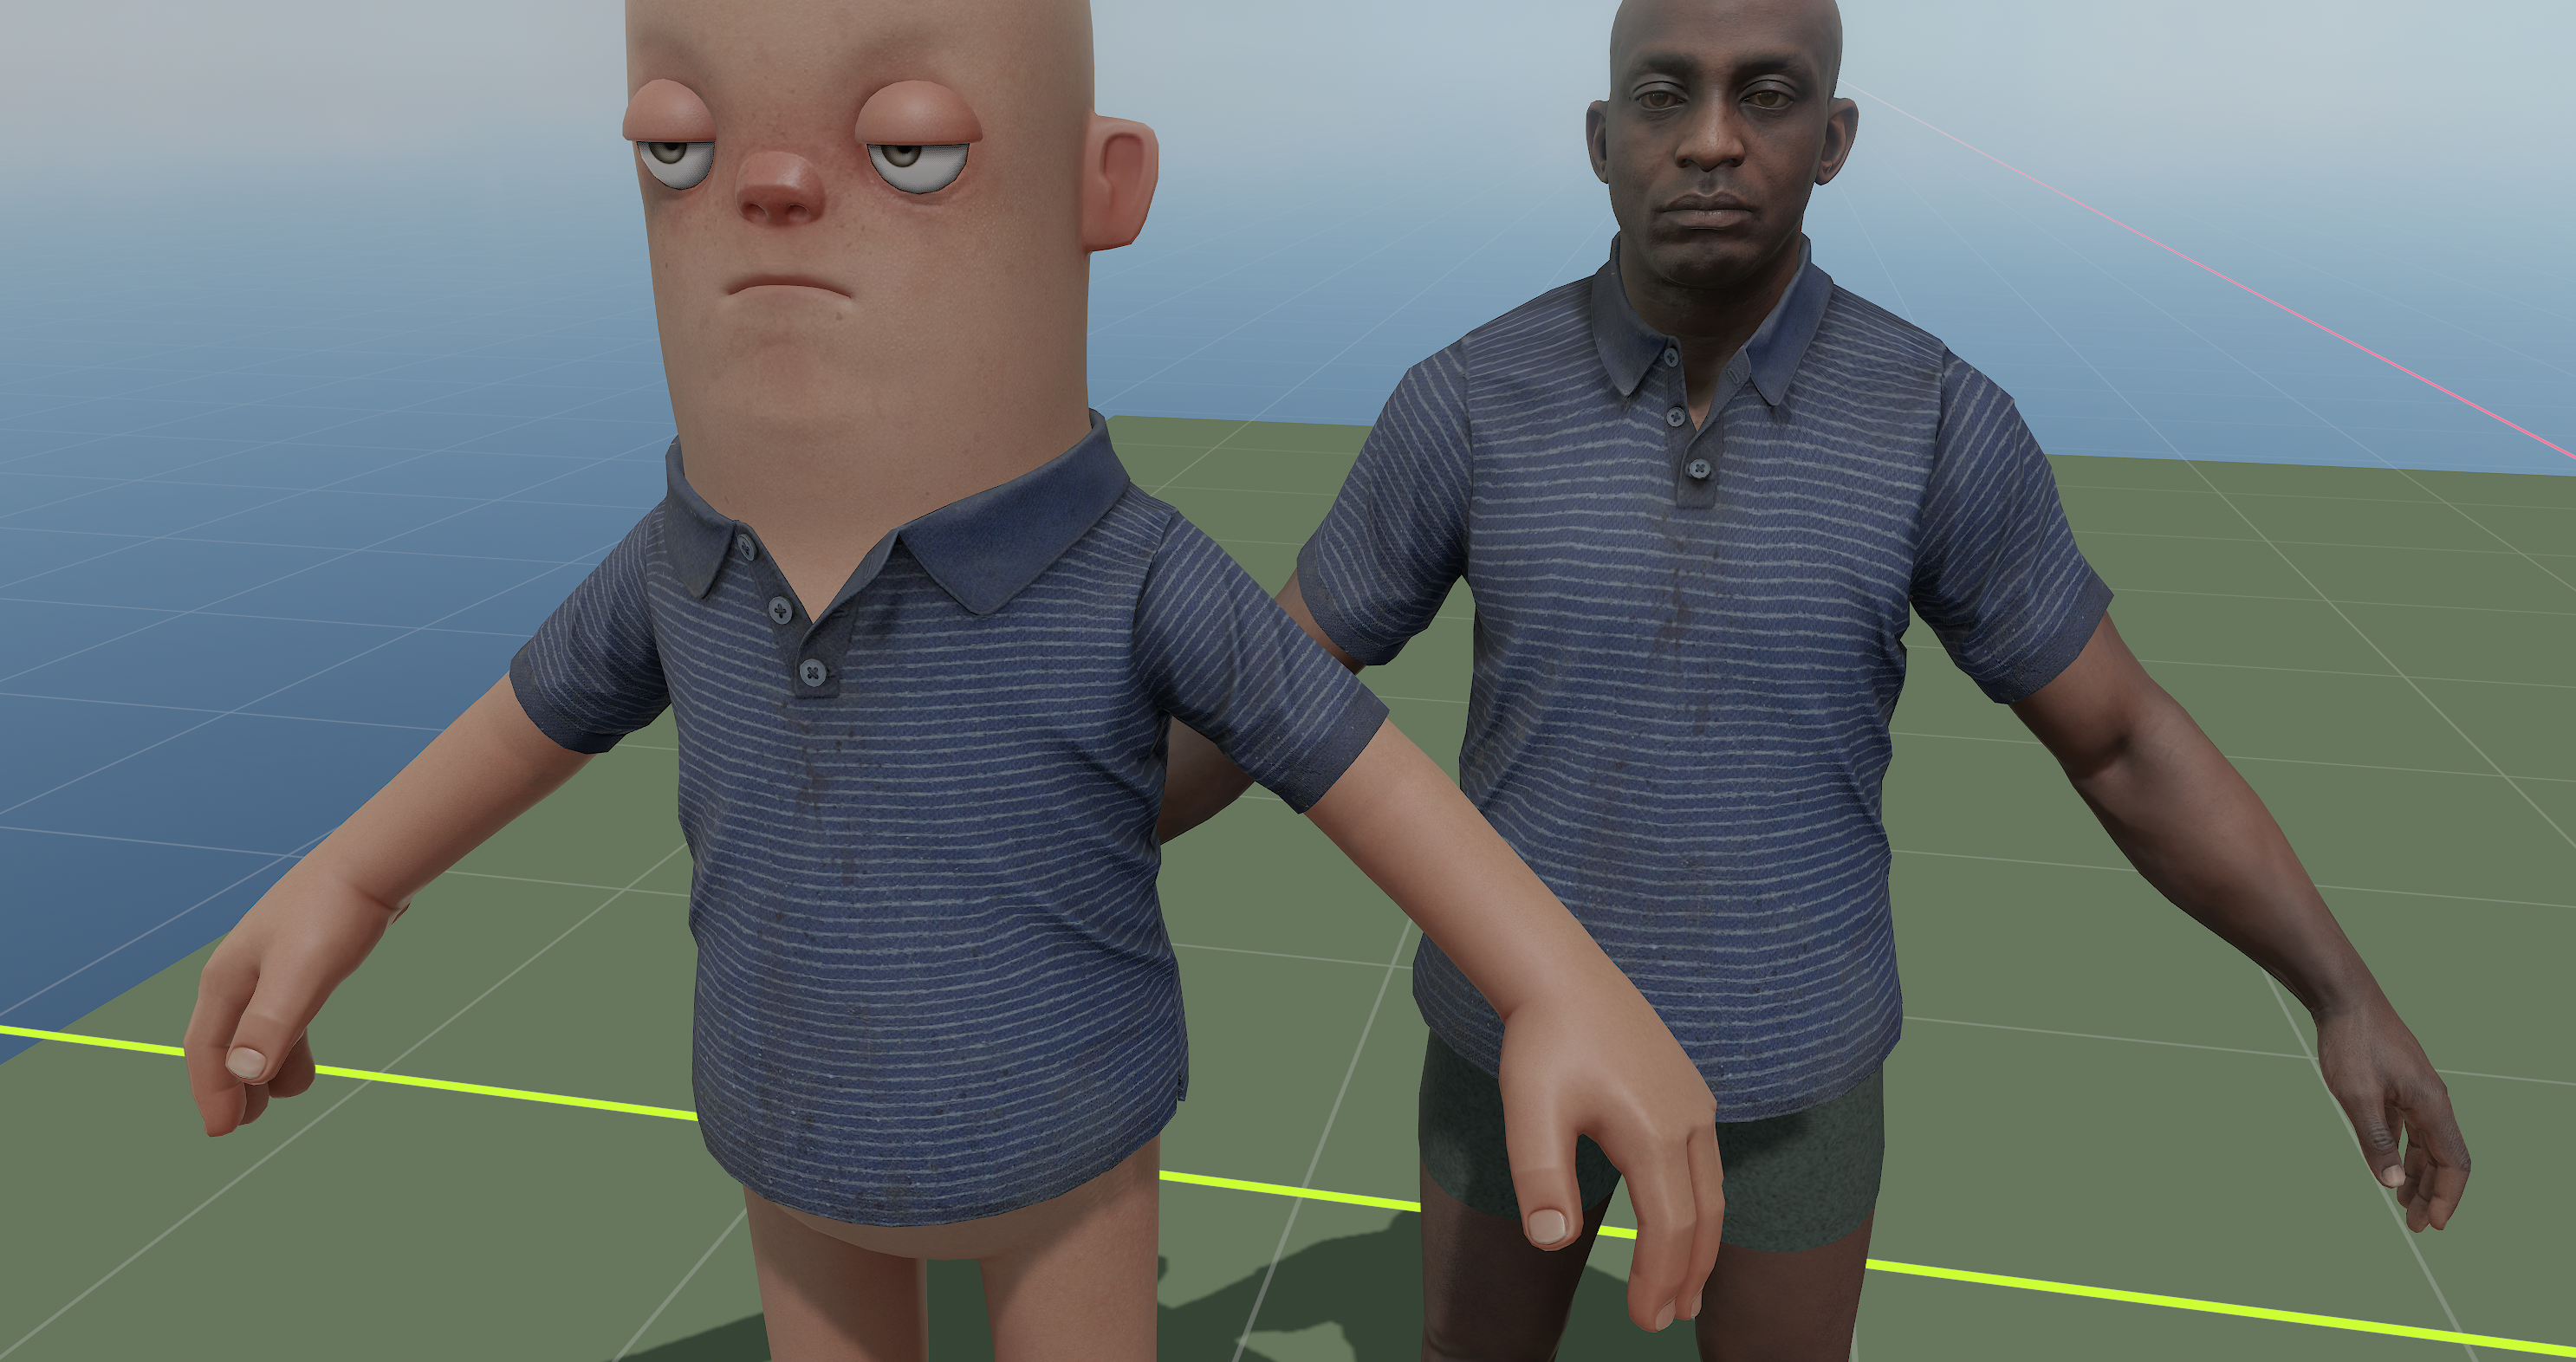
Female Human Version
We also have the citizen_human_female_REF which is used for creating female versions of clothing. Which can be found in sbox\addons\citizen\Assets\models\citizen_human.
A female version of clothing is not required for every clothing piece. Female versions are expected for clothing like short sleeve shirts, shorts, clothing that shows a notable amount of the base body underneath.
In cases like a jacket or trousers that completely cover the legs, we can get away with just using the male standard version.
In this example, the Leotard , most of the body is visible, so we have to want to make a female version, which is simply bringing the waist in and contouring around the chest.
We want to make sure our female version of clothing isn't any bigger than the male version of the clothing, as this may cause clipping with the upper layers (jackets / vests on Layer 2).
So when editing to make the female version, only edit inwards, bringing in the ribs and under the chest. It's very tempting to just bring the chest out slightly for more silhouette, but it will cause clipping since it's making the clothing bigger.
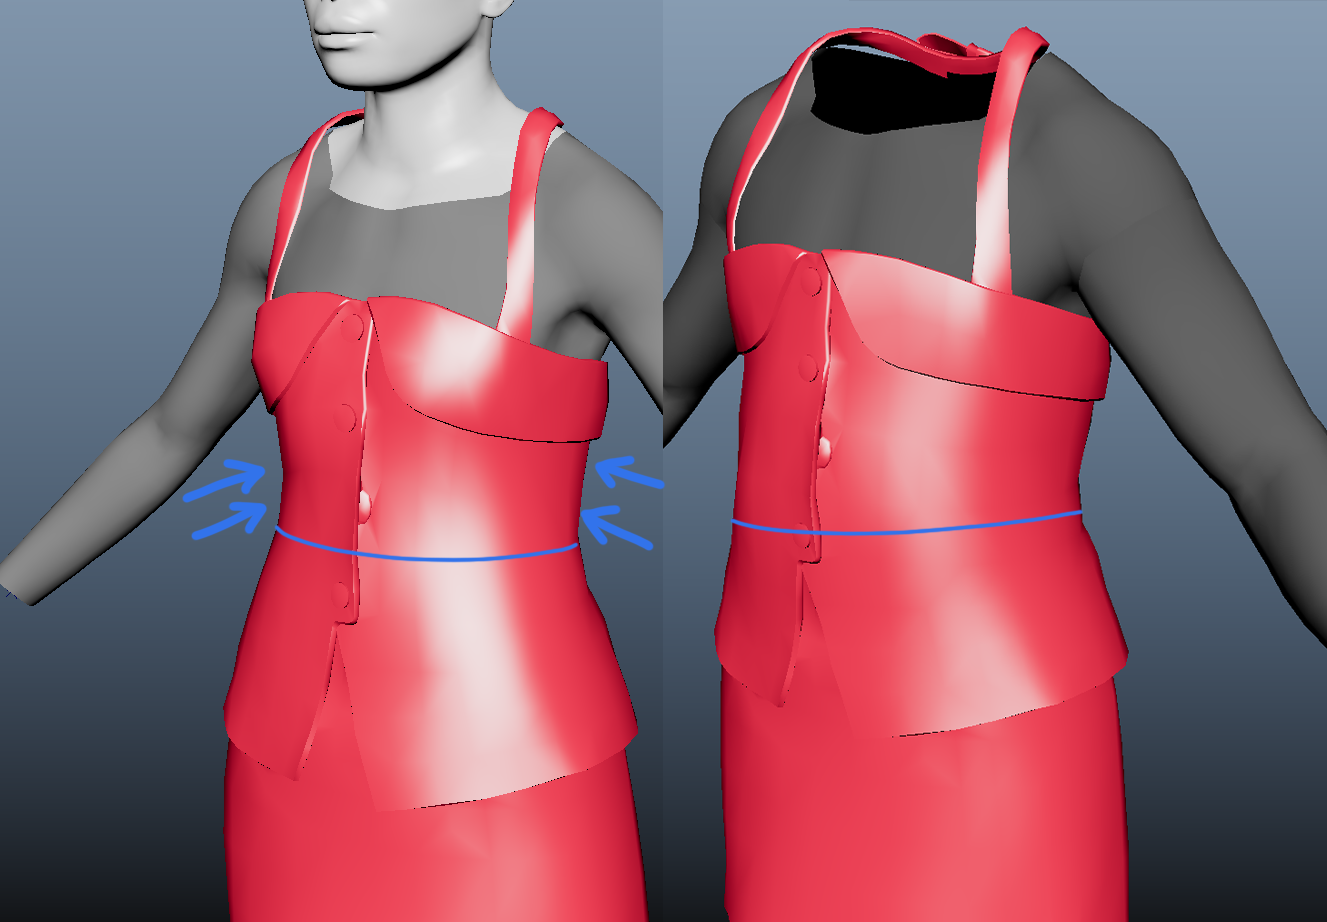
You can see here, all that's been done is bringing in the ribs and upper waist to follow the female base mesh. As well contouring around the chest slightly.
Created 6 Jan 2025
Updated 14 Jan 2025